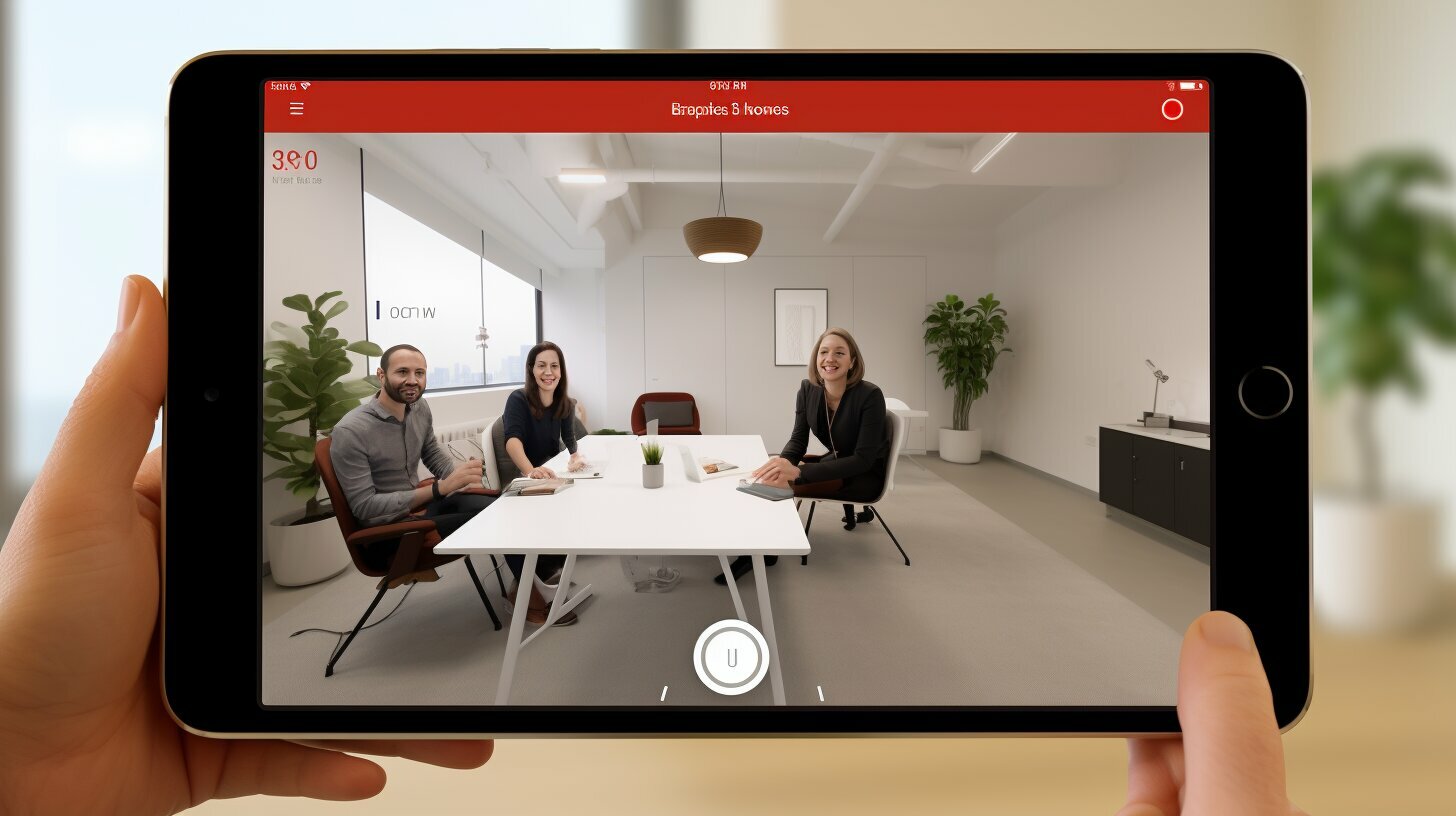
If you are using Zoom to connect with colleagues, friends or family, you may want to record your meetings for future reference. Fortunately, recording Zoom meetings on your iPad is a simple process that can enhance your virtual communication experience. In this section, I will walk you through the steps to record a Zoom meeting on your iPad.
Key Takeaways:
- Recording Zoom meetings on iPad is a useful feature for future reference.
- Following simple steps, you can record Zoom meetings on your iPad.
Setting Up Zoom Recording on Your iPad
If you want to capture Zoom meetings on your iPad, you’ll need to set up screen recording. Here’s how:
- Open the Settings app on your iPad.
- Tap Control Center and then Customize Controls.
- Scroll down and find Screen Recording, then tap the green plus sign to add it to your Control Center.
Now that you’ve added it to your Control Center, you’re ready to start recording. But before you do, let’s discuss the different options you have for recording Zoom meetings on your iPad.
Recording Options on Zoom for iPad
When you’re in a Zoom meeting on your iPad, there are three different recording options available:
| Option | Description |
|---|---|
| Local Recording | Saves the recording to your iPad’s local storage. |
| Cloud Recording | Saves the recording to your Zoom cloud storage account. |
| Automatic Recording | Automatically starts and stops recording based on the meeting host’s settings. |
Now that you’re familiar with the recording options, let’s dive into the step-by-step process of recording a Zoom meeting on your iPad.
Recording Your Zoom Meeting on iPad
Now that we have enabled screen recording, we can proceed to record our Zoom meeting. To initiate the recording, follow these steps:
- Join the Zoom meeting you want to record.
- Tap on the ‘More’ option at the bottom right corner of the screen.
- Select ‘Record’ from the pop-up menu.
Once you have started recording, a red indicator will appear at the top-left corner of the screen to show that the session is being recorded. You can also view the current recording time and pause or stop the recording as needed using the controls that appear at the bottom of the screen.
It is essential to note that some Zoom meetings may not permit recording due to restrictions set by the host. In this case, the ‘Record’ option will be unavailable, and a message will appear informing you of the restriction.
After recording your Zoom meeting, you can save it locally on your iPad or upload it to your preferred cloud storage service for safekeeping. We will explore these options in detail in the next section.
Managing and Saving Zoom Recordings on iPad
Once you have successfully recorded your Zoom meeting on your iPad, it is important to know how to manage and save your recordings properly. Luckily, the Zoom app provides different options for you to easily organize and access your recorded meetings.
Managing Zoom Recordings on iPad
To manage your recorded meetings on your iPad, follow these simple steps:
- Open the Zoom app on your iPad.
- Tap on the “Recordings” tab at the bottom of the screen.
- Here, you will see all of your recorded meetings listed by date and time.
- You can play, rename, share, or delete your recordings by clicking on the corresponding options located under each recording.
Additionally, you can use the search bar at the top of the screen to find specific recordings based on keywords or dates, making it easier to locate and manage your recorded meetings.
Saving Zoom Recordings on iPad
The Zoom app also offers different options for saving your recorded meetings on your iPad. Here’s how:
- Open the Zoom app on your iPad.
- Tap on the “Recordings” tab at the bottom of the screen.
- Click on the recording you want to save.
- Tap on the “Share” option located under the recording.
- From here, you can choose different options to save your recording, such as saving it to your Photos app, sending it as an email attachment, or uploading it to cloud storage services like Dropbox, Google Drive, or OneDrive.
It is recommended that you save your Zoom recordings to cloud storage services, as this not only frees up space on your iPad but also provides a secure backup in case your device is lost or damaged.
Conclusion
Recording Zoom meetings on your iPad can significantly enhance your virtual communication experience. By following the simple steps we outlined above, you can easily capture and save your Zoom meetings on your iPad device.
Remember to always set up your Zoom recording preferences before the meeting starts to avoid any potential issues. Once the meeting is over, take the time to review and manage your recordings by organizing them in a way that works best for you.
Mastering Zoom recording on your iPad is a valuable skill that can save you time and enhance collaboration in your virtual meetings. With these tips, you are one step closer to becoming a Zoom pro!
FAQ
Q: How do I record on Zoom on my iPad?
A: To record on Zoom using your iPad, follow these simple steps:
Q: Can I capture and save Zoom meetings on my iPad?
A: Yes, you can capture and save Zoom meetings on your iPad. By following the steps provided, you’ll be able to record and access your meetings easily.
Q: What options are available for recording Zoom meetings on my iPad?
A: When recording a Zoom meeting on your iPad, you have various options to choose from within the Zoom app. These options will allow you to customize your recording experience.
Q: How do I initiate and stop the recording of a Zoom meeting on my iPad?
A: To initiate the recording of a Zoom meeting on your iPad, follow the step-by-step guide provided. To stop the recording, you can use the relevant controls within the Zoom app.
Q: How can I manage and save my Zoom recordings on my iPad?
A: Managing and saving your Zoom recordings on your iPad is easy. This section will explain different options for organizing, accessing, and saving your recorded meetings.