As a professional copywriting journalist, I know the importance of keeping your computer in good working condition. One essential skill every computer owner should have is knowing how to safely remove a hard drive from a computer. Whether you need to upgrade, replace or troubleshoot your hard drive, it’s crucial to know how to extract it from your desktop or laptop computer without damaging your data or hardware. In this guide, I will provide you with a step-by-step process to easily remove a hard drive from your computer.
Before proceeding with the hard drive removal process, it’s crucial to back up your data. If you don’t back up your files, you risk losing them forever if anything goes wrong during the removal process.
Key Takeaways:
- Knowing how to remove a hard drive will help you upgrade, replace, or troubleshoot your computer.
- Backing up your data before removing the hard drive is essential.
Preparing for Hard Drive Removal
Before I can remove the internal hard drive from my computer’s CPU, I need to prepare. This involves shutting down the computer and unplugging all cables. I must make sure that I ground myself to avoid static electricity. I must also have a screwdriver handy.
Firstly, I need to shut down my computer properly. I must save all my open files and close all programs before selecting the shutdown option. Once the computer has completely shut down, I must unplug all cables, including the power cord, monitor, and any other peripherals or accessories that may be attached.
Next, I must ground myself to avoid any static electricity. I can do this by touching a metal object that’s grounded, like a doorknob. Alternatively, I can purchase an anti-static wristband to wear to ensure that I’m grounded throughout the process.
Finally, I need to have the necessary tools. A screwdriver is the most important tool I’ll need. I must make sure that the screwdriver is the correct size for my computer case screws.
Opening the Computer Case
Now that I have shut down the computer and unplugged all cables, it’s time to safely open the computer case to access the hard drive. Depending on the model of the computer, the method of opening the case may vary. It’s essential to refer to the computer’s manual to ensure the correct method is followed.
If the computer case has screws holding it in place, I will need to use a screwdriver to remove them. Alternatively, some computer cases may have panels that slide off without the need for screws. Whichever method is used, it’s important to ensure the computer case is opened safely and carefully to avoid any damage.
Locating the Hard Drive
Now that the computer case is open, it’s time to locate the hard drive. The hard drive will be a rectangular-shaped metal or plastic component that could be mounted either vertically or horizontally inside the computer case. It could also be located at the bottom of the case or somewhere in the middle, depending on the computer model.
To locate the hard drive, you may need to look for the cables attached to it. The data cable, which is usually flat and wide, connects to the motherboard, while the power cable, which is smaller and has a white tip, connects to the power supply unit (PSU). If you’re still having trouble locating the hard drive, refer to the computer manual that came with the device.
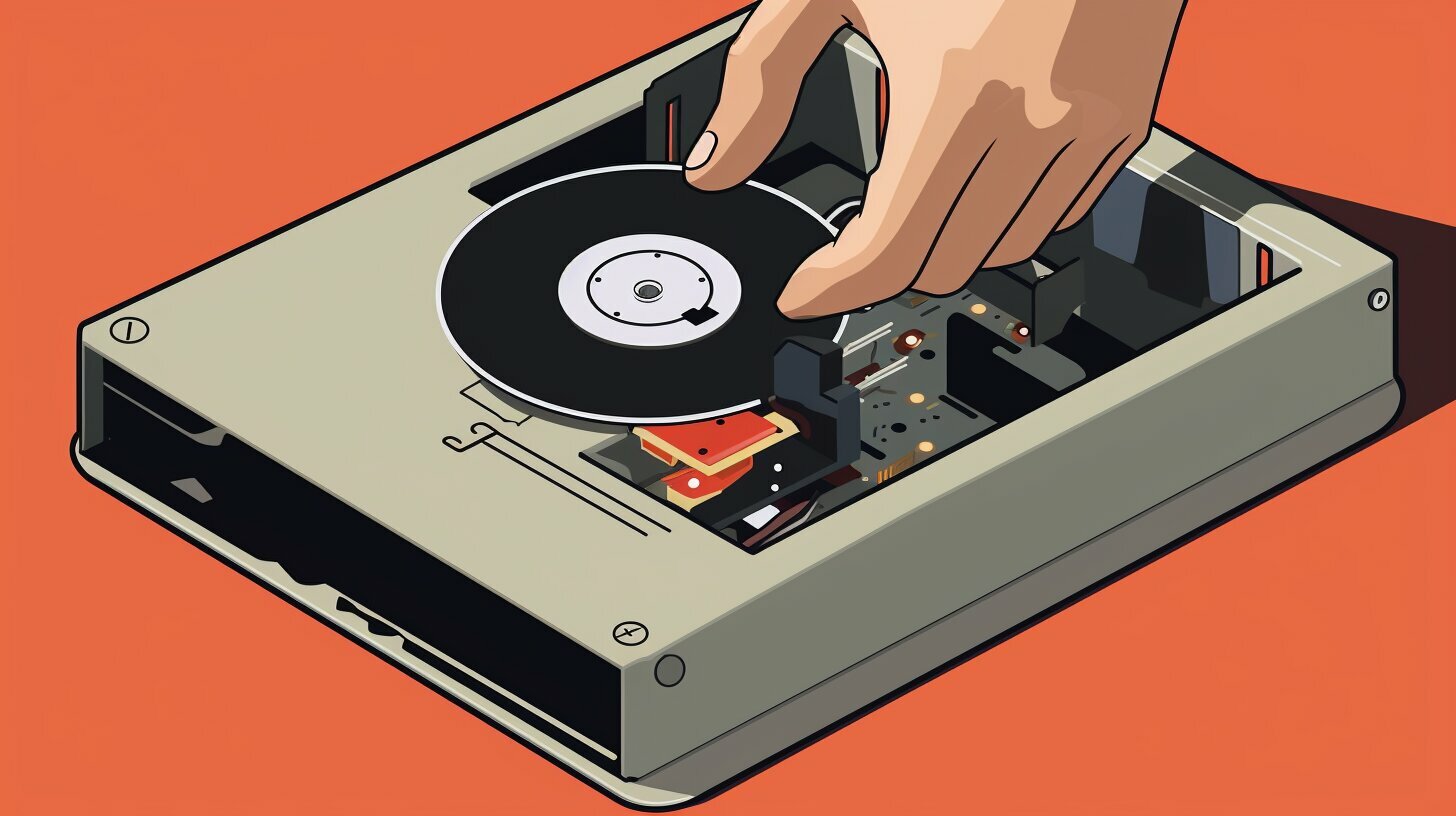
It’s essential to be gentle and cautious when handling the internal hard drive. Avoid applying pressure or force, as it could damage the components or even scratch the disk. Remember, this delicate disk is where your computer stores all your files and data, so it’s vital to take extra care when handling it.
If you’re unsure how to identify and handle the hard drive correctly, seek help from an expert or professional. Don’t hesitate to ask for assistance, as it’s better to be safe than sorry.
Disconnecting Cables
Now that the computer case is open and the hard drive is located, the next step is to disconnect the cables. There are usually two types of cables connected to the hard drive: power and data cables. Power cables are wider and have a rectangular shape, while data cables are thinner and have a squarish shape with two notched corners. Before removing any cables, it is important to ensure that the computer is turned off and unplugged from the power source.
To remove the cables, gently pull them out from their sockets. Some cables may have locking tabs that need to be pressed down before removing. It is also important to avoid pulling the cables from the wires, as this could damage the wires and affect the internal components. To ensure easy reconnection, label the cables or take a picture of their placement.
Once the cables are disconnected, gently set them aside and move on to the next step of removing the hard drive from its mounting. This is where a screwdriver may be needed, so make sure you have one on hand.
Removing the Hard Drive from its Mounting
Now that I have located the hard drive and disconnected the cables, it’s time to remove it from its mounting. This is a critical step, as any missteps could damage the hard drive or the computer. I’ll go over the steps carefully.
First, I need to check how the hard drive is mounted inside the computer case. There are different methods of mounting a hard drive, and some may require particular tools to remove. I’ll need to be careful not to damage any screws or brackets holding the hard drive in place.
Next, I will carefully slide the hard drive out of its mounting, making sure not to force it. It should come out easily if all the cables and screws have been disconnected correctly.
If the hard drive is still not coming out, I will double-check that all the screws and brackets are fully removed. I may also need to gently wiggle the hard drive back and forth or side to side to loosen it.
Once the hard drive is removed, I will set it aside in a safe spot. I’ll want to make sure it’s not in direct sunlight or near any sources of extreme heat or cold. I’ll also want to keep it away from any magnets, as they can damage the hard drive.
Now that I’ve successfully removed the hard drive from its mounting, I’m ready to move on to the next step in the process.
Handling the Hard Drive:
Now that the hard drive has been removed from the computer, it’s important to handle it with care. This will ensure that it remains in good condition and any data stored on it remains safe.
Remove hard drive from computer, uninstall hard drive from PC, extracting hard drive from desktop – no matter how you phrase it, the process of removing a hard drive is delicate and requires caution. First and foremost, it’s essential to avoid any physical damage to the hard drive. Dropping it or shaking it can cause irreparable damage to the internal components. It’s also important to avoid exposing the hard drive to extreme temperatures, as this can cause damage to the internal components or even warp the casing.
Static electricity can be a risk when handling electronic components, so it is important to ground yourself before touching the hard drive. This can be done by touching an unpainted metal surface on the computer case or using an anti-static wrist strap.
Once you have grounded yourself, you can safely handle the hard drive. Avoid touching any of the exposed components, as this can cause damage. Instead, hold the hard drive by its edges or by the mounting frame if it has one.
When storing the hard drive, it’s recommended to keep it in an anti-static bag or a protective case. This will protect it from physical damage and static electricity while it’s not in use. Store it in a safe, dry place, away from any potential hazards such as liquids or magnets.
Reassembling the Computer
Now that you have successfully removed the hard drive from your computer, it’s time to put everything back together. Follow these simple steps:
- Align the computer case and place it back in its original position.
- Securely fasten any screws or panels that were removed earlier.
- Reconnect all cables that were disconnected, including the power and data cables for the hard drive.
- Double-check to make sure all cables are properly connected and secured.
- Power on your computer and ensure that everything is working as expected.
It’s important to follow the proper reassembly steps to avoid any damage or malfunctions. Once you’ve completed these steps, you can rest easy knowing that your computer is back up and running. If you encounter any issues during the reassembly process, consult your computer’s manual or seek assistance from a professional.
Conclusion
Removing a hard drive from a computer can be a daunting process, but it is necessary for several reasons, such as upgrading or troubleshooting. It is crucial to take precautions to avoid damage to the hard drive or the computer. In this guide, I have provided step-by-step instructions on how to safely remove a hard drive from a computer, including preparing for removal, opening the computer case, locating the hard drive, disconnecting cables, removing the hard drive from its mounting, handling the hard drive, and reassembling the computer.
Remember to back up your data before removing the hard drive. Also, make sure to follow the proper steps when handling the hard drive to avoid static electricity, physical damage, and extreme temperatures. Once you have followed these steps, you should be able to successfully remove the hard drive from your computer.
If you have any additional questions or concerns, feel free to seek assistance from a professional. Now that you know how to safely remove a hard drive, you can confidently upgrade or troubleshoot your computer as needed.
FAQ
Q: Why do I need to safely remove a hard drive from a computer?
A: Safely removing a hard drive is important to avoid data loss and damage to the drive or computer. It ensures that all data is properly backed up and that the drive is disconnected without causing any harm.
Q: How do I prepare for removing a hard drive?
A: To prepare for removing a hard drive, make sure to shut down the computer, unplug all cables, and ground yourself to avoid static electricity. It’s also important to have the necessary tools, such as a screwdriver, on hand.
Q: How do I open the computer case?
A: The method for opening a computer case can vary depending on the type of case. Typically, it involves removing screws or sliding off panels. It’s best to refer to the computer’s manual for specific instructions on safely opening the case.
Q: Where can I find the hard drive within the computer case?
A: The hard drive can usually be located by its appearance, the cables connected to it, or its position on the motherboard. Take care when handling the drive to avoid any damage.
Q: How do I disconnect the cables from the hard drive?
A: Disconnecting the cables from the hard drive involves removing power and data cables. Follow the appropriate methods for safely removing each type of cable and consider labeling them for easy reconnection later.
Q: How do I remove the hard drive from its mounting?
A: The steps for removing a hard drive from its mounting will depend on the specific computer model. Generally, you’ll need to follow the instructions provided by the manufacturer to safely detach the hard drive, being cautious of any screws or brackets.
Q: How should I handle the hard drive after removing it?
A: After removing the hard drive, handle it with care to avoid physical damage, static electricity, and extreme temperatures. Store the hard drive in a safe and secure location to protect it.
Q: How do I reassemble the computer after removing the hard drive?
A: To reassemble the computer, make sure to align the case properly, securely fasten screws or panels, and reconnect the cables. Follow the proper reassembly steps to avoid any damage or malfunctions.
Q: Why is it important to safely remove a hard drive?
A: Safely removing a hard drive ensures that all data is properly backed up and that the drive is disconnected without causing any harm. It also reduces the chances of data loss and protects the integrity of the drive and the computer.