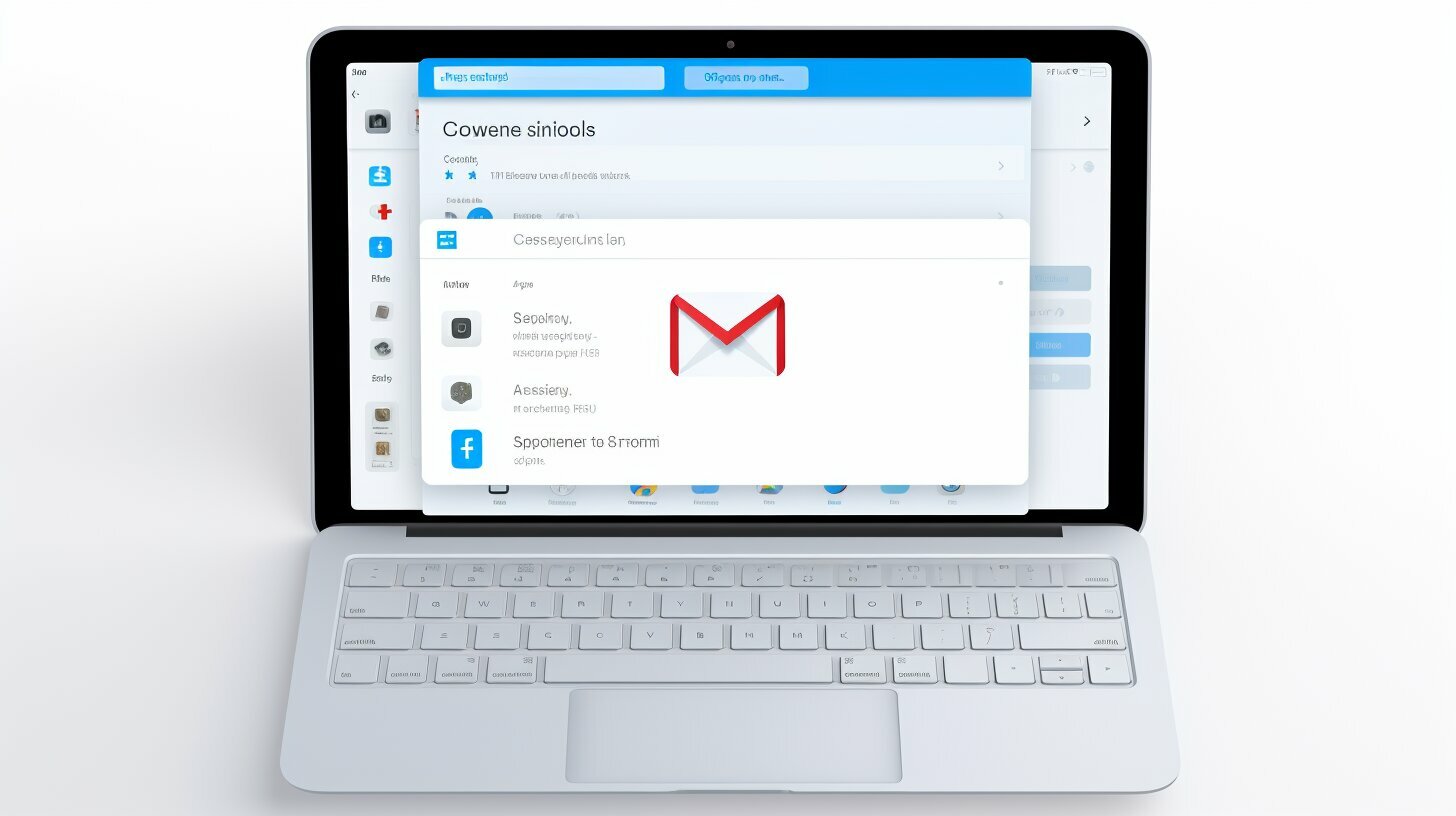
Sending email on your iPad is quick and easy with just a few simple steps. The Mail app on your iPad makes it convenient to compose and send emails, allowing you to stay connected on the go.
To send an email on your iPad:
- Open the Mail app on your iPad.
- Tap the compose button to start a new email.
- Enter the recipient’s email address in the “To” field.
- Add a subject to your email.
- Type your message in the body of the email.
- If desired, tap the “Add Attachment” button to include files or documents.
- When you’re ready, tap the send button to deliver your email.
In addition to these steps, you can further enhance your email experience on your iPad:
- Add recipients directly from your Contacts for quick and easy addressing.
- Access drafts of your emails, which can be saved for later editing or sending.
- Print emails using AirPrint or by forwarding them to a printer’s email address.
- Take advantage of new features introduced in iOS 16’s Mail app, such as enhanced search capabilities and the “Undo Send” feature for added convenience.
- Consider using alternative email apps like Spike, which offers a chat-like interface, supports multiple email accounts, and allows for real-time conversations and collaboration.
Key Takeaways:
- Sending email on your iPad is quick and easy using the Mail app.
- Steps include opening the Mail app, tapping the compose button, entering the recipient’s email address, adding a subject, typing your message, and tapping the send button.
- You can add attachments, access drafts, and print emails using AirPrint or forwarding to a printer’s email address.
- iOS 16’s Mail app introduces enhanced search capabilities and an “Undo Send” feature.
- Consider using the Spike email app for a chat-like interface, support for multiple email accounts, and real-time conversations and collaboration.
Setting Up the Mail App on Your iPad
Before you can send emails on your iPad, you’ll need to set up the Mail app with your email account. Fortunately, the process is simple and straightforward. Here’s how you can get started:
- Open the Settings app on your iPad and scroll down to find “Mail” or “Mail, Contacts, Calendars”. Tap on it.
- Tap on “Add Account”. You’ll then be presented with a list of popular email service providers such as Gmail, Yahoo, and Outlook. If your email provider is not listed, select “Other”.
- Enter your email address and password in the provided fields. If you have two-factor authentication enabled for your email account, you may need to enter a verification code.
- Tap “Next” and wait for your iPad to verify your email account settings. Once verified, you can choose which aspects of your email account you want to sync with your iPad, such as Mail, Contacts, Calendars, and Notes.
- After selecting your preferences, tap “Save” or “Done” to complete the setup process.
Once you have successfully set up your email account on the Mail app, you can start sending and receiving emails with ease. The Mail app offers a user-friendly interface and intuitive features that make managing your email a breeze.
Table: Supported Email Service Providers
| Email Service Provider | Supported |
|---|---|
| Gmail | Yes |
| Yahoo | Yes |
| Outlook | Yes |
| Other | Depends on the email provider |
Setting up the Mail app on your iPad is an essential step to ensure you can stay connected and manage your emails efficiently. Whether you use a popular email service provider or have a custom email account, the Mail app offers comprehensive support and seamless integration.
Composing a New Email on iPad
To compose a new email on your iPad, open the Mail app and tap the compose button. This button is usually represented by a square icon with a pencil or pen symbol. Once you tap on it, a new email window will appear, ready for you to start composing your message.
In the email window, you will see a “To” field where you can enter the recipient’s email address. Simply tap on the field and start typing the email address. If you have the recipient’s email address saved in your Contacts, you can tap the “+” sign in a circle next to the “To” field to access your Contacts and select the desired recipient.
Next, you can add a subject to your email. This is a brief description that summarizes the content of your email. Tap on the subject field and start typing your subject. Adding a subject can help the recipient understand the purpose of your email without having to open it.
Once you have entered the recipient’s email address and added a subject, you can begin typing your message. Tap on the body of the email and the keyboard will appear, allowing you to start composing your message. You can also format your text using the available options, such as bold, italic, underline, and more.
| Tips for Composing Emails on iPad |
|---|
| 1. If you want to include an attachment in your email, tap the “Add Attachment” button, which is usually represented by a paperclip icon. This will allow you to select files from your iPad or iCloud Drive to attach to your email. |
| 2. To access drafts of your emails, you can tap and hold the compose button. This will display a list of your drafts, allowing you to continue editing or send them. Alternatively, you can go to the Drafts folder in the Mail app to view and manage your drafts. |
| 3. When you’re done composing your email, you can tap the send button to send it. The send button is usually represented by a paper airplane icon and is located at the top right corner of the email window. After tapping send, your email will be sent to the recipient’s email address. |
“Composing emails on iPad is a breeze with the Mail app. Whether you’re sending a quick message or drafting a detailed email, the intuitive interface and handy features make the process seamless. So go ahead and start sending emails on your iPad, and make the most out of your digital communication experience!”
Adding Contacts and Accessing Drafts
The Mail app on your iPad allows you to easily add contacts to your emails and access drafts for later editing and sending.
When composing a new email, you can simply tap the “+” sign in the circle to add recipients from your Contacts. This makes it quick and convenient to select the email addresses of your friends, family, or colleagues without having to manually type them every time.
Additionally, if you’re not ready to send an email right away, you can save it as a draft. To access your drafts, simply tap and hold the compose button or navigate to the Drafts folder. This feature is especially useful if you need to review or make changes to your email content before sending it out.
| TIP: | Remember to regularly check your Drafts folder to ensure that you don’t unintentionally leave any emails unsent. It’s a good practice to review your drafts and complete any outstanding emails to stay organized. |
|---|
By utilizing the contact addition and draft access features in the Mail app, you can streamline your email composition process and have a better overall email experience on your iPad.
Printing Emails and New Features in iOS 16
If you need to print an email from your iPad, you can use AirPrint or forward it to a printer’s email address. AirPrint allows you to wirelessly print directly from your iPad to a compatible printer. Simply tap the share button in the Mail app, select the Print option, choose your printer, and hit Print. It’s a convenient way to have a hard copy of important emails or documents.
Another option is to forward the email to a printer’s email address. Many printers now have their own email addresses, allowing you to send documents directly to them for printing. Simply open the email you want to print, tap the forward button, enter the printer’s email address in the “To” field, and send. The printer will receive the email and print the contents.
With the release of iOS 16, the Mail app on your iPad has been enhanced with new features. One of the notable additions is the improved search capabilities. Now, you can easily find specific emails by using keywords or phrases in the search bar. This makes it quicker to locate important messages in your inbox.
Additionally, iOS 16 introduces the “Undo Send” feature, which gives you the ability to retract a sent email within a certain timeframe. If you realize you made a mistake or forgot to include something, simply tap the “Undo” button that appears at the bottom of the screen immediately after sending the email. This feature can save you from potential embarrassment or the need to send a follow-up email.
New Features in iOS 16’s Mail App:
- Improved search capabilities for finding specific emails
- “Undo Send” feature for retracting a sent email
| Printing Options | New Features |
|---|---|
| AirPrint | Enhanced search capabilities |
| Forward to printer’s email address | “Undo Send” feature |
Alternatively, if you’re looking for a different email experience on your iPad, you might consider using the Spike email app. Spike offers a chat-like interface that organizes your emails into conversations, making it easier to keep track of discussions. It also supports multiple email accounts, allowing you to manage all your emails in one place. Additionally, Spike enables real-time collaboration, so you can work on emails together with your team.
Overall, printing emails from your iPad can be a hassle-free process with options like AirPrint and forwarding to a printer’s email address. The new features in iOS 16’s Mail app, including enhanced search capabilities and the “Undo Send” feature, add convenience to your email management. If you’re looking for a different email app, Spike offers a unique communication experience with its chat-like interface and collaboration features.
Alternative Email Apps for iPad
In addition to the default Mail app, there are alternative email apps available for iPad that offer unique features and advantages. One such app is Spike, which stands out for its innovative design and functionality. With its chat-like interface, Spike transforms your emails into conversations, making it easier to follow and respond to messages. This app also supports multiple email accounts, allowing you to manage all your inboxes in one place.
Real-time conversations and collaboration are made seamless with Spike. You can share files, collaborate with team members, and stay organized with shared notes and tasks. Spike also prioritizes important emails, so you can focus on what matters most. Plus, its built-in search feature helps you find specific emails or attachments quickly, saving you time and effort.
If you’re looking for a different email experience on your iPad, consider giving Spike a try. It offers a modern and intuitive interface, improved collaboration features, and powerful email management capabilities. Download Spike from the App Store and discover a new way to stay connected and productive on your iPad.
| Benefits of Spike: |
|---|
| Chat-like interface for easy email conversations |
| Supports multiple email accounts |
| Real-time collaboration with shared notes and tasks |
| Built-in search for quick access to emails and attachments |
Conclusion
Sending email on your iPad is a simple process that can be done effortlessly with the Mail app or alternative email apps, providing you with a seamless digital communication experience.
To send an email using the Mail app, open the app and tap the compose button. Enter the recipient’s email address in the “To” field, add a subject, and type your message. You can even add attachments by tapping the “Add Attachment” button. Once you’re ready, simply tap the send button to deliver your email.
If you want to add recipients from your Contacts, you can easily do so by tapping the “+” sign in the circle and selecting the contact you wish to add. And if you need to access drafts, simply tap and hold the compose button or navigate to the Drafts folder.
Printing emails on your iPad is also a breeze. You can use AirPrint to print directly from your device, or you can forward the email to a printer’s email address. Additionally, the latest version of the Mail app in iOS 16 introduces enhanced search capabilities and a helpful “Undo Send” feature.
If you’re looking for an alternative email app for your iPad, consider trying Spike. With its chat-like interface, support for multiple email accounts, and real-time conversations and collaboration capabilities, Spike offers a unique and efficient email experience.
Whether you choose to use the Mail app or explore alternative options like Spike, you can enjoy the convenience and simplicity of sending email on your iPad. Stay connected and communicate effortlessly with the power of email at your fingertips.
FAQ
Q: How do I send an email on my iPad?
A: To send an email on your iPad, open the Mail app and tap the compose button. Enter the recipient’s email address in the “To” field, add a subject, and type your message. You can also add attachments by tapping the “Add Attachment” button. When you’re ready, tap the send button.
Q: Can I add recipients from my Contacts?
A: Yes, you can add recipients from your Contacts. Just tap the “+” sign in the circle and select the contact you want to add.
Q: How do I access drafts?
A: To access drafts, you can either tap and hold the compose button or go to the Drafts folder in the Mail app.
Q: How can I print an email from my iPad?
A: You can print an email from your iPad using AirPrint or by forwarding it to a printer’s email address.
Q: What are the new features in iOS 16’s Mail app?
A: iOS 16’s Mail app has enhanced search capabilities and an “Undo Send” feature, which allows you to recall an email after sending it.
Q: Are there alternative email apps for iPad?
A: Yes, there are alternative email apps for iPad. One popular option is the Spike email app, which offers a chat-like interface, supports multiple email accounts, and allows for real-time conversations and collaboration.