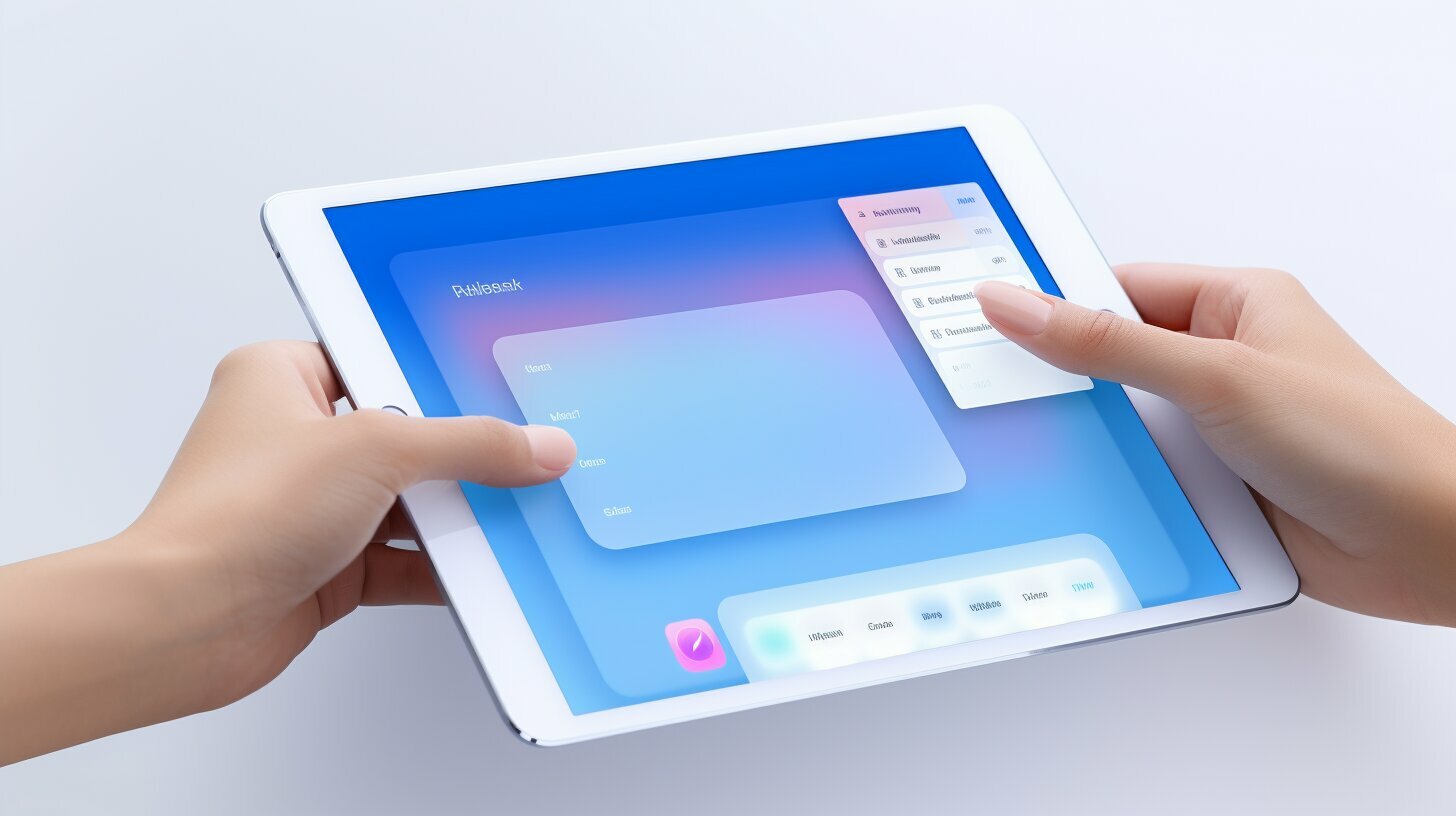
Are you looking to clear tabs on your iPad for a faster and more organized browsing experience? Look no further! We have compiled a comprehensive guide to help you clear tabs on your iPad effectively.
Key Takeaways:
- Manually close all open tabs in Safari by long-pressing the tab icon and selecting “Close all [X] tabs.”
- Choose to close a single tab or keep one tab open while closing the others.
- Set Safari to automatically close tabs after a certain amount of time in Safari settings.
- Close all tabs on the tab switcher screen by long-pressing the “Done” button and selecting “Close All Tabs.”
- Reopen recently closed tabs by tapping the tab switcher button, long-pressing the “+” button, and selecting from the “Recently Closed Tabs” list.
By following these simple steps, you can clear tabs on your iPad and improve your browsing experience. Say goodbye to cluttered tabs and optimize your iPad’s performance today!
Manual Tab Closing in Safari
Safari, the default browser on your iPad, offers a simple and intuitive way to manually close tabs, allowing you to declutter your browsing experience. Here’s how you can easily clear tabs on your iPad:
- Launch Safari on your iPad and tap the tab icon located at the bottom right corner of the screen. This will open the tab switcher screen.
- Swipe left or right to navigate through the open tabs and find the tab you want to close.
- Once you’ve located the tab you wish to close, swipe it to the left or right to reveal the “Close” button.
- Tap the “Close” button to remove the tab from your browsing session.
If you prefer to close all open tabs at once, follow these steps:
- Open Safari and tap on the tab icon to access the tab switcher.
- Long-press the “Done” button located at the bottom right corner of the tab switcher screen.
- A pop-up menu will appear, offering you the option to “Close All Tabs.” Tap on it to clear all open tabs.
By manually closing tabs in Safari, you can keep your browsing experience organized and free from unnecessary clutter. Take control of your tabs today and enjoy a seamless browsing experience on your iPad!
| Advantages of Manual Tab Closing in Safari |
|---|
| Effortlessly declutter your browsing experience |
| Keep your tab bar organized and tidy |
| Improve memory usage on your iPad |
Automatic Tab Closing in Safari
Did you know that you can save time and maintain a clean tab bar by setting up Safari to automatically close tabs? Learn how to enable this feature and optimize your tab management on your iPad.
Safari offers a convenient option to automatically close tabs after a certain period of time. By enabling this feature, you can keep your tab bar organized and free from clutter. To get started, follow these simple steps:
- Open the Safari app on your iPad.
- Tap the “Settings” icon located at the bottom right corner of the screen.
- Scroll down and select “Safari” from the list of options.
- In the Safari settings menu, locate the “Close Tabs” option.
- Choose your preferred time period for automatic tab closing. You can select from options like “After One Day,” “After One Week,” or “After One Month.”
- Once you’ve made your selection, Safari will automatically close tabs that haven’t been accessed within the specified time frame.
By implementing this simple setting, you can ensure that your tab bar remains organized and clutter-free, improving both the performance and efficiency of your iPad.
Table: Benefits of Automatic Tab Closing in Safari
| Benefits | Description |
|---|---|
| Improved tab organization | Automatically closing unused tabs keeps your tab bar clean and easy to navigate. |
| Optimized memory usage | By closing tabs that are not in use, you free up valuable memory on your iPad. |
| Enhanced browsing speed | With fewer tabs open, Safari can perform at its best, resulting in faster page loading times. |
Take control of your tab management on the iPad by enabling the automatic tab closing feature in Safari. Enjoy a clutter-free browsing experience and optimize the performance of your device. Try it out today and witness the difference!
Closing Tabs with the Tab Switcher Screen
If you have multiple tabs open and want to close them quickly, the tab switcher screen provides a convenient solution. Simply follow these steps:
- Tap the tab switcher button at the top-right corner of the Safari browser.
- You will now see a grid layout of all your open tabs.
- To close a single tab, swipe it to the left or right and tap the “Close” button that appears.
- If you want to close multiple tabs at once, long-press the “Done” button at the bottom-right corner of the screen.
- A menu will pop up, giving you the option to “Close All Tabs.” Tap this option to remove all open tabs.
The tab switcher screen allows you to efficiently manage your tabs and clear them when needed. By following these simple steps, you can keep your browsing experience clutter-free and improve your iPad’s performance.
| Action | Step |
|---|---|
| Open tab switcher | Tap the tab switcher button |
| Close single tab | Swipe left or right and tap “Close” |
| Close multiple tabs | Long-press “Done” and select “Close All Tabs” |
With the tab switcher screen, managing and closing tabs on your iPad becomes a breeze. Keep your browsing experience organized and optimized by utilizing this handy feature.
Reopening Recently Closed Tabs
Did you mistakenly close a tab or need to revisit a website you recently visited? Don’t worry, you can easily reopen your previously closed tabs on your iPad. With just a few simple steps, you’ll regain access to your browsing history and pick up where you left off.
To reopen a closed tab on your iPad, follow these steps:
- Tap the tab switcher button at the top-right corner of your Safari browser.
- Long-press the “+” button at the bottom-center of the screen.
- A list of recently closed tabs will appear. Scroll through the list and find the tab you want to reopen.
- Tap the desired tab, and it will instantly reopen, allowing you to continue browsing.
By using this feature, you can effortlessly retrieve closed tabs and save time searching for previously visited websites. Whether you accidentally closed an important tab or need to revisit a page for reference, the “Recently Closed Tabs” list in Safari has got you covered.
| Tip: | To prevent accidentally closing tabs in the future, consider rearranging the position of the tab switcher button. Simply tap and hold the tab switcher button, then drag it to a different location on the screen. This way, you can avoid tapping the “+” button unintentionally and closing tabs by mistake. |
|---|
Now that you know how to reopen recently closed tabs on your iPad, you can browse with confidence, knowing that a closed tab is never truly lost. Take advantage of this convenient feature and make the most out of your browsing experience on your iPad.
Additional Tips for Efficient Tab Management
In addition to the methods we’ve discussed so far, there are a few more techniques you can use to effectively manage your tabs on your iPad. These tips will help you stay organized, prioritize your tabs, and make the most out of your browsing experience.
1. Utilize Tab Groups: One way to keep your tabs organized is by using tab groups. With tab groups, you can group related tabs together, making it easier to find and switch between them. To create a tab group, simply long-press on a tab and select “Add to New Tab Group.” Give your tab group a name and start adding tabs to it. This feature is especially useful for organizing tabs based on different projects, topics, or interests.
2. Swipe Gestures: Another handy tip is to use swipe gestures to navigate between tabs. Instead of tapping on the tab icons, you can swipe left or right on the tab bar to switch between tabs quickly. This gesture-based navigation saves time and enhances your browsing efficiency. To enable swipe gestures, go to your iPad’s settings, select “Safari,” and toggle on the “Swipe Between Pages” option.
3. Sync Tabs Across Devices: If you use multiple Apple devices, such as an iPhone or Mac, you can take advantage of the tab syncing feature. By syncing your tabs, you can access the same open tabs across all your devices seamlessly. This allows for a more cohesive browsing experience and ensures that you never lose track of important web pages. To enable tab syncing, make sure you are signed in with the same Apple ID on all your devices and enable the “Safari” option in your iCloud settings.
Remember, effective tab management is essential for improving your productivity and optimizing your iPad’s performance. By implementing these additional techniques, you can take control of your tab bar, stay organized, and enjoy a seamless browsing experience on your iPad.
Optimizing Your iPad’s Performance
Clearing tabs on your iPad is not only about organization but also about improving your device’s performance. By minimizing the number of open tabs, you can free up valuable memory and processing power, resulting in a smoother and faster browsing experience. Here are some additional tips to help you optimize your iPad’s performance:
1. Prioritize your tabs
When browsing on your iPad, it’s easy to accumulate a large number of tabs. To keep things organized, prioritize your tabs by closing those that you no longer need. Keep only the essential tabs open, such as pages you frequently visit or those you need for immediate reference. By minimizing the number of open tabs, you’ll reduce the strain on your device’s resources.
2. Utilize the tab switcher screen
The tab switcher screen in Safari provides a convenient way to manage your tabs. Instead of individually closing each tab, you can long-press the “Done” button and select “Close All Tabs” to clear them all at once. This saves time and effort, especially when you have multiple tabs open. Take advantage of this feature to streamline your browsing experience and improve your iPad’s performance.
3. Enable automatic tab closing
Did you know that you can set Safari to automatically close tabs after a specific timeframe? This feature can be found in Safari settings under “Close Tabs.” By selecting a time period, such as “After One Day” or “After One Week,” Safari will close any inactive tabs, freeing up memory and optimizing your device’s performance. Experiment with different time intervals to find the one that works best for you.
| Benefits of Clearing Tabs on Your iPad |
|---|
| Improved device speed and responsiveness |
| Reduced memory usage |
| Enhanced browsing experience |
| Minimized risk of crashing or freezing |
Clearing tabs on your iPad not only helps you stay organized but also ensures that your device operates at its optimal level. By following these tips and incorporating them into your browsing routine, you can make the most out of your iPad and enjoy a seamless experience every time you go online.
Conclusion
By following the step-by-step instructions we’ve provided, you can effectively clear tabs on your iPad and experience a faster, more efficient browsing experience. Don’t wait any longer – take action today and optimize your iPad’s performance!
To clear tabs on your iPad effectively, you have several options. First, you can manually close all open tabs by long-pressing the tab icon in Safari and selecting “Close all [X] tabs.” You can also choose to close a single tab or keep one tab open while closing the others.
Another option is to set Safari to automatically close tabs after a certain amount of time. To do this, go to Safari settings, find the “Close Tabs” option, and select a time period. This will help keep your tab bar organized and prevent excessive memory usage.
Additionally, you can close all tabs by long-pressing the “Done” button on the tab switcher screen and selecting “Close All Tabs.” This is a convenient method for quickly clearing out multiple tabs at once, without the need to navigate through each individual tab.
To reopen recently closed tabs, tap the tab switcher button, long-press the “+” button, and select the desired tab from the “Recently Closed Tabs” list. This feature allows you to easily revisit previously visited websites or recover accidentally closed tabs.
By implementing these tab clearing techniques, you can declutter your tab bar, improve memory usage, and optimize your iPad’s speed. Take advantage of these simple steps and enjoy a seamless browsing experience on your iPad.
FAQ
Q: How do I manually close tabs on my iPad?
A: To manually close tabs on your iPad, long-press the tab icon in Safari and select “Close all [X] tabs” to close all open tabs. Alternatively, you can choose to close a single tab or keep one tab open while closing the others.
Q: Can I set Safari to automatically close tabs on my iPad?
A: Yes, you can set Safari to automatically close tabs after a certain amount of time. Go to Safari settings, find the “Close Tabs” option, and select a time period. This will help keep your tab bar organized and prevent excessive memory usage.
Q: How do I close all tabs using the tab switcher screen on my iPad?
A: To close all tabs using the tab switcher screen, long-press the “Done” button and select “Close All Tabs.” This provides a quick and efficient way to clear out multiple tabs at once.
Q: How can I reopen recently closed tabs on my iPad?
A: To reopen recently closed tabs, tap the tab switcher button, long-press the “+” button, and select the desired tab from the “Recently Closed Tabs” list. This feature allows you to easily access your browsing history and revisit previously visited websites.
Q: Are there any additional tips for efficient tab management on my iPad?
A: Yes, to efficiently manage your tabs on the iPad, prioritize your tabs, and stay organized, you can try the following techniques: grouping related tabs, using bookmarks, and regularly decluttering your tab bar.
Q: How does clearing tabs on my iPad optimize its performance?
A: Clearing tabs on your iPad helps optimize performance by decluttering the tab bar, improving memory usage, and enhancing the device’s speed. It allows your iPad to run more efficiently and provides a smoother browsing experience.
Source Links
- https://www.tomsguide.com/how-to/instantly-kill-every-safari-tab-on-your-iphone-with-this-handy-trick
- https://www.danstutorials.com/tutorials/tutor-for-safari/lessons/lessons-for-safari-on-the-ipad/topics/close-all-open-tabs-in-safari-on-the-ipad/
- https://www.howtogeek.com/704977/how-to-close-all-safari-tabs-at-once-on-iphone-and-ipad/