Taking photos on your iPad is a breeze with these simple steps. Whether you’re capturing a special moment or experimenting with photography, your iPad can serve as a convenient and powerful tool.
To take a photo on your iPad, start by accessing the Camera app. You can do this by swiping left from the lock screen or searching for it on your home screen.
Once you’re in the Camera app, you’ll have a range of options to enhance your photos. Choose the desired photo mode, such as Photo, Portrait, Square, or Pano. You can also enable additional features like flash, HDR, live photos, and timers to suit your photography needs.
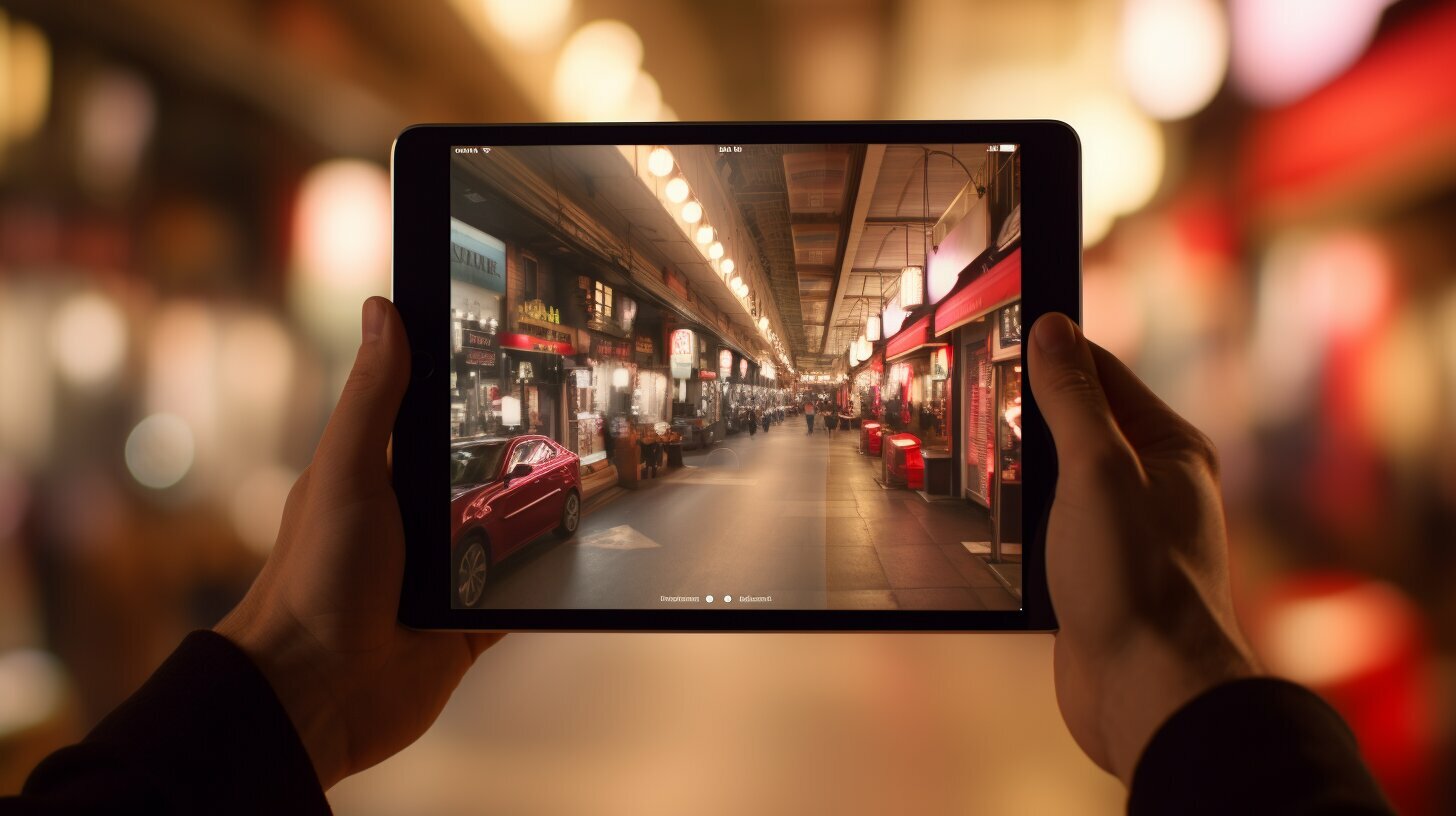
When you’re ready to capture your shot, frame it the way you want and simply tap on the white circle to take a photo. You can experiment with filters, switch between front and rear-facing cameras, and get creative with different angles and perspectives.
Don’t forget to adjust the lighting and focus to ensure your photo comes out just the way you want it. You can tap and swipe on the screen to optimize the lighting and focus on your subject, giving your photos that professional touch.
All the photos you capture will be saved in the Photos app. Here, you can easily organize your photo collection, edit images to enhance their appearance, share them with friends and family, or delete any photos you no longer need.
Key Takeaways:
- Taking photos on your iPad is easy and convenient.
- Access the Camera app by swiping left from the lock screen or searching for it on your home screen.
- Choose from different photo modes and enable features like flash, HDR, and live photos.
- Frame your shot and tap on the white circle to capture the photo.
- Adjust lighting and focus by tapping and swiping on the screen.
- Organize, edit, share, and delete your photos in the Photos app.
Accessing the Camera App
Before you start taking photos, you need to open the Camera app on your iPad. There are a few ways to do this. The easiest way is to swipe left from the lock screen, and you’ll see the Camera icon. Simply tap on it to open the app. If you’re already on the home screen, you can also find the Camera app by swiping right and using the search bar at the top of the screen. Just type in “Camera” and it should appear as one of the search results. Once you’ve opened the Camera app, you’re ready to start capturing beautiful images!
Now that you have accessed the Camera app, you’ll be greeted with a range of features and options to enhance your photography experience. One of the first things you’ll notice is the different photo modes available. You can choose from Photo, Portrait, Square, or Pano modes, depending on the type of photo you want to capture. Each mode offers a unique perspective and can help you achieve the desired effect for your photo. Experiment with different modes to find the one that suits your needs best.
Additionally, the Camera app on your iPad offers various features to enhance your photos. You can enable the flash to provide additional lighting in low-light situations or use the HDR (High Dynamic Range) feature to capture more details in high-contrast scenes. If you want to add some motion to your photos, you can enable the live photos feature, which captures a short video before and after each photo, bringing your pictures to life. Lastly, you can set a timer to give yourself enough time to get into the frame before the photo is taken.
Once you’ve set up your preferred photo mode and adjusted the necessary settings, you’re ready to start snapping photos on your iPad. Simply position your iPad to frame your subject, tap on the white circle to capture the shot, and voila! Your photo will be saved in the Photos app, ready for you to enjoy, edit, and share with others. Taking photos on your iPad has never been easier, allowing you to capture precious moments effortlessly and share them with the world.
Choosing Photo Mode and Adjusting Settings
Once you have the Camera app open, you can choose the photo mode and customize the settings to your preference. The iPad offers a variety of photo modes to suit different shooting scenarios. Whether you’re capturing a breathtaking landscape or a close-up portrait, you can select the mode that best fits your subject. Here are the different photo modes you can choose from:
- Photo: This is the standard mode that allows you to capture regular photos with your iPad. It’s perfect for everyday moments and general photography.
- Portrait: If you want to create stunning portraits with a creamy background blur, the Portrait mode is the ideal choice. It uses advanced depth-sensing technology to beautifully separate the subject from the background.
- Square: The Square mode is great for sharing photos on social media platforms like Instagram. It automatically crops your photos into a perfect square format.
- Pano: If you want to capture sweeping landscapes or tall buildings, the Pano mode comes in handy. It allows you to capture wide-angle photos by panning your iPad from left to right.
In addition to choosing the photo mode, you can also customize various settings to enhance your photography experience. The iPad camera offers features like flash, HDR, live photos, and timers. These options give you greater control over lighting, dynamic range, motion, and timing. Experiment with these settings to achieve the desired effects in your photos.
Once you’re satisfied with your chosen photo mode and settings, you’re ready to start capturing stunning images with your iPad. Keep in mind that practice makes perfect, so don’t be afraid to explore different modes and settings to unleash your creativity. The iPad’s camera capabilities, combined with your unique perspective, can result in breathtaking photographs that you’ll cherish for years to come.
Table: iPad Photo Modes and Settings
| Photo Mode | Description |
|---|---|
| Photo | Standard mode for capturing regular photos. |
| Portrait | Creates stunning portraits with background blur. |
| Square | Crops photos into a perfect square format. |
| Pano | Captures wide-angle photos by panning left to right. |
Remember, the iPad’s camera is a powerful tool that can transform your photography. So grab your iPad, open the Camera app, and start exploring the different photo modes and settings. With a little creativity and experimentation, you’ll be capturing amazing images in no time.
Are you ready to take your iPad photography to the next level? In the next section, we’ll delve into the art of framing and capturing the perfect shot using your iPad. Stay tuned!
Framing and Capturing the Perfect Shot
Now that you have your camera settings ready, it’s time to frame and capture the perfect shot. The iPad offers several features and techniques to help you take stunning photos effortlessly.
First, consider using filters to add a touch of creativity to your photos. Whether you prefer vivid colors or a vintage look, filters can enhance the overall mood and aesthetics of your images. Experiment with different filters to find the style that best suits your subject.
Next, don’t forget to utilize both the front and rear-facing cameras. The front camera is ideal for taking selfies or capturing moments with friends and family. On the other hand, the rear camera offers higher resolution and is great for capturing landscapes, architecture, and other subjects where detail is crucial.
“Photography is the story I fail to put into words.” – Destin Sparks
When composing your shot, consider the rule of thirds. Imagine your frame divided into nine equal parts with two horizontal lines and two vertical lines. Position your subject along these lines or at their intersections to create a more balanced and visually appealing composition.
Finally, when you’re ready to capture the shot, simply tap on the white circle on the screen. Keep in mind that timing is crucial, especially when capturing fast-moving subjects or fleeting moments. Don’t be afraid to take multiple shots to increase your chances of getting the perfect image.
| Tips for Framing and Capturing the Perfect Shot: |
|---|
| Use filters to add creativity and enhance the mood of your photos |
| Experiment with both front and rear-facing cameras for different perspectives |
| Follow the rule of thirds for a balanced composition |
| Tap on the white circle to capture the shot at the right moment |
Adjusting Lighting and Focus
To ensure your photos come out beautifully, you can easily adjust the lighting and focus with a few simple taps and swipes. The iPad camera offers intuitive controls that allow you to capture stunning images in various lighting conditions.
When capturing a photo on your iPad, you can tap on the screen to adjust the focus. Simply tap on the object or subject you want to highlight, and the camera will automatically adjust the focus to ensure it appears sharp and clear in the final image.
Additionally, you can adjust the lighting by swiping up or down on the screen. Swiping up will increase the brightness, making your photo appear lighter, while swiping down will decrease the brightness, resulting in a darker image. Experimenting with different lighting levels can help you create the desired mood and atmosphere in your photos.
Tips for Adjusting Lighting and Focus:
- Tap on the brightest part of the scene to balance the overall exposure.
- Swipe down to reduce glare and prevent overexposure in bright environments.
- Swipe up to enhance details in darker areas or create a brighter overall look.
- Experiment with different angles and positions to find the most flattering lighting.
Remember, practice makes perfect. Take some time to familiarize yourself with the camera settings and explore the effects of adjusting lighting and focus. With a little experimentation and creativity, you’ll be capturing professional-looking photos with your iPad in no time.
| Adjusting Lighting and Focus: | Tips for Great Results: |
|---|---|
| Tap on the screen to adjust the focus. | Experiment with different angles and positions. |
| Swipe up or down to adjust the lighting. | Tap on the brightest part of the scene for balanced exposure. |
| Swipe down to reduce glare and overexposure. | |
| Swipe up to enhance details in darker areas. |
Managing and Editing Photos
Once you’ve captured your photos, it’s time to manage, edit, and share them using the Photos app on your iPad. The Photos app provides a user-friendly interface that allows you to easily organize your pictures and make them look even better with editing tools.
The first step after capturing your photos is organizing them into albums. You can create custom albums to group similar photos together, making it easier to find and browse through your collection. To create an album, simply open the Photos app, tap on the “Albums” tab, and then select the “+” icon to add a new album. Give your album a name and start adding photos to it by tapping on the “Select” button and choosing the desired images.
Once you have your albums set up, you can start editing your photos to enhance their quality. The Photos app offers various editing tools, including adjustments for brightness, contrast, and saturation. You can also apply filters to give your photos a unique look and feel. Simply open a photo, tap on the “Edit” button, and start experimenting with the different editing options available.
| Editing Tools | Description |
|---|---|
| Brightness | Adjusts the overall brightness of the photo. |
| Contrast | Enhances the difference between light and dark areas. |
| Saturation | Controls the intensity of colors in the photo. |
| Filters | Applies pre-set effects to give your photos a different look. |
Once you’re satisfied with the edits, you can easily share your photos with friends and family. The Photos app allows you to share pictures directly from the app via email, messaging apps, or social media platforms. Simply select the photo you want to share, tap on the share button, and choose the desired sharing option.
With the Photos app on your iPad, managing, editing, and sharing your photos has never been easier. Take advantage of the tools and features available to make your pictures stand out and preserve your memories in style.
Conclusion
With these simple steps and helpful tips, you’re now equipped to take stunning photos on your iPad and create lasting memories.
To take a photo on your iPad, access the Camera app by swiping left from the lock screen or searching for it on the home screen. Once in the Camera app, you can choose from different photo modes like Photo, Portrait, Square, or Pano, and enable features such as flash, HDR, live photos, and timers. Capture the perfect shot by framing your subject and tapping on the white circle to take a photo.
Adjusting lighting and focus is easy – simply tap and swipe on the screen to optimize these settings. And don’t forget, you can enhance your photos by using filters and switching between the front and rear-facing cameras.
All the photos you capture will be saved in the Photos app, where you can easily organize, edit, share, and delete them to create your perfect photo album. So go ahead, start capturing those unforgettable moments effortlessly with your iPad!
FAQ
Q: How do I access the Camera app on my iPad?
A: You can access the Camera app on your iPad by swiping left from the lock screen or searching for it on the home screen.
Q: How do I choose the photo mode and adjust settings on my iPad camera?
A: Once in the Camera app, you can choose the photo mode (Photo, Portrait, Square, or Pano) and enable features like flash, HDR, live photos, and timers.
Q: How do I take a photo on my iPad?
A: To take a photo on your iPad, simply tap on the white circle in the Camera app. You can adjust lighting and focus by tapping and swiping on the screen.
Q: How do I adjust lighting and focus when taking photos on my iPad?
A: You can adjust lighting and focus when taking photos on your iPad by tapping and swiping on the screen to optimize the lighting and focus of the subject.
Q: How do I manage and edit my photos on my iPad?
A: You can manage and edit your photos on your iPad using the built-in Photos app. You can organize, edit, share, and delete your photos within the app.