Are you looking to switch to a new iPhone? We’re here to help you transfer your data seamlessly. With our various methods, you can ensure a hassle-free transfer while keeping all your precious information intact.
Key Takeaways:
- Transferring data from iPhone to iPhone can be done using several methods.
- The Quick Start method allows for wireless transfer of contacts, photos, apps, messages, notes, music, and videos.
- Using iCloud, you can effortlessly transfer data by enabling iCloud backup on your old iPhone and restoring it on the new one.
- Direct transfer involves waiting for the transfer to complete on both devices and requires a backup of your previous device and your Apple ID and password.
- iTunes or Finder can be used to transfer data from a backup, but Health and Activity data won’t transfer if the backup is not encrypted.
- You can erase your previous device before starting the transfer for a clean slate.
- Contact Apple Support for further assistance.
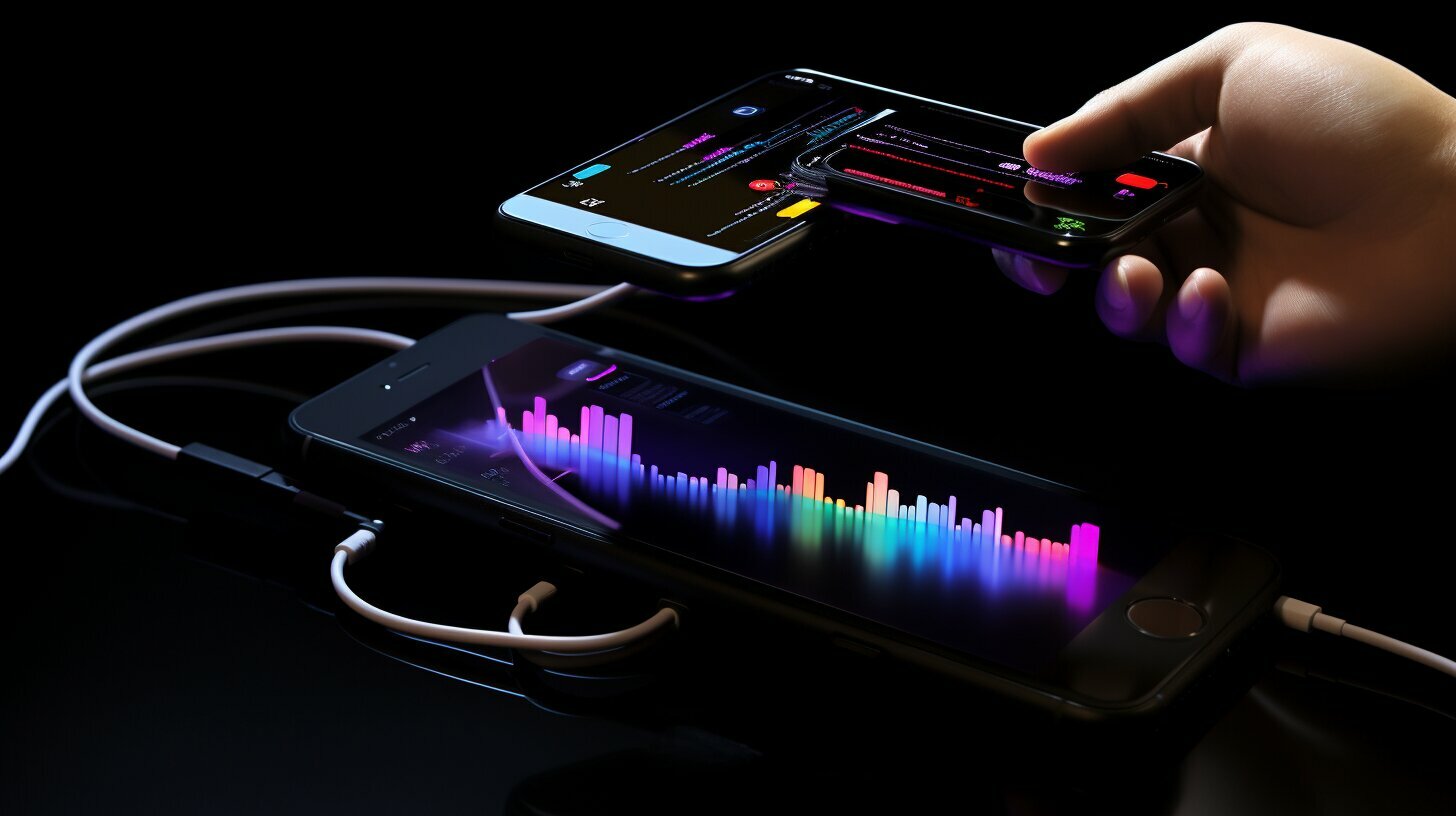
Quick Start Method for iPhone Data Transfer
With the Quick Start method, you can easily transfer all your important data from your old iPhone to your new one without any cables or complicated procedures. Simply ensure that both devices are connected to Wi-Fi and that Bluetooth is turned on. Follow the onscreen instructions to get started.
During the transfer process, it’s crucial to keep the devices near each other and plugged in until the data migration is complete. This ensures a seamless transfer and helps to avoid any interruption or data loss.
Using the Quick Start method, you can transfer a variety of data, including contacts, photos, apps, messages, notes, music, and videos. It provides a convenient and hassle-free way to set up your new iPhone without losing any of your valuable information.
Transfer Data with Quick Start Method:
- Turn on your new iPhone and place it next to your old iPhone.
- Wait for the Quick Start screen to appear on your old iPhone, then tap “Continue”.
- An animation will appear on your new iPhone. Scan it using your old iPhone’s camera.
- Enter your old iPhone’s passcode on your new iPhone, and follow the onscreen instructions to set up Touch ID or Face ID.
- Select your preferred settings for location services, Siri, and privacy.
- Sign in with your Apple ID and choose to restore apps, data, and settings from your most recent iCloud backup.
- Wait for the transfer to complete. This may take some time depending on the amount of data involved.
- Once the transfer is finished, continue setting up your new iPhone and enjoy all your transferred data.
By following these simple steps, you can seamlessly transfer all your important data to your new iPhone using the Quick Start method. It’s a quick, efficient, and user-friendly way to ensure that your new device is set up just the way you want it, with all your valuable information intact.
| Data | Transferable |
|---|---|
| Contacts | Yes |
| Photos | Yes |
| Apps | Yes |
| Messages | Yes |
| Notes | Yes |
| Music | Yes |
| Videos | Yes |
iCloud Method for iPhone Data Transfer
If you prefer a seamless data transfer that happens in the background, iCloud is the perfect option for you. With iCloud, you can easily transfer your contacts, photos, apps, messages, notes, music, and videos from your old iPhone to your new one. Here’s how you can do it:
- Ensure that both your old iPhone and your new iPhone are connected to Wi-Fi.
- On your old iPhone, go to “Settings” and tap on your Apple ID at the top of the screen.
- Select “iCloud” and then tap on “iCloud Backup”.
- Tap on “Back Up Now” to start the backup process. Make sure that you are connected to a reliable Wi-Fi network and that your device is connected to a power source.
- Once the backup is complete, turn on your new iPhone and follow the setup steps until you reach the “Apps & Data” screen.
- On the “Apps & Data” screen, select “Restore from iCloud Backup”.
- Sign in to iCloud with your Apple ID and password.
- Choose the backup you just created from the list of available backups.
- Wait for the restore process to complete. This may take some time depending on the size of the backup and the speed of your internet connection.
- Once the restore process is finished, complete the rest of the setup steps on your new iPhone.
Important Note:
To ensure a successful data transfer, it is crucial that you have a stable internet connection and enough iCloud storage to accommodate your backup. If you encounter any issues during the process, you can always reach out to Apple Support for further assistance.
| Items | iCloud Backup | Notes |
|---|---|---|
| Contacts | ✓ | Contacts will be transferred to your new iPhone. |
| Photos | ✓ | Your photos will be available on your new iPhone once the transfer is complete. |
| Apps | ✓ | Your previously installed apps will be downloaded from the App Store to your new iPhone. |
| Messages | ✓ | Your text messages and iMessages will be transferred to your new iPhone. |
| Notes | ✓ | All your notes will be available on your new iPhone. |
| Music | ✓ | Your music library, including purchased songs and playlists, will be transferred to your new iPhone. |
| Videos | ✓ | Your videos, including movies and TV shows, will be available on your new iPhone after the transfer. |
Using iCloud for transferring data from your old iPhone to a new one is a convenient and efficient method. It allows you to seamlessly migrate your important information without the need for physical connections or additional software. Make sure to follow the steps carefully to ensure a successful transfer.
Direct Transfer Method for iPhone Data Transfer
If you want to transfer your data directly, without using iCloud or other methods, we have a solution for you. This method involves waiting for the transfer to complete on both devices and requires a backup of your previous device and your Apple ID and password.
To begin, ensure that you have a backup of your previous device. This can be done by connecting your old iPhone to iTunes on your computer and selecting the “Back Up Now” option. Once the backup is complete, make sure you have your Apple ID and password handy.
On your new iPhone, follow the setup steps until you reach the “Apps & Data” screen. Here, choose the option for “Restore from iTunes Backup” and connect your new device to the computer you used for the backup. Open iTunes and select your new device. You should see a screen with your device’s name and the date and time of the backup.
Select the backup you want to transfer and click on the “Restore Backup” button. Wait for the restore process to finish, and then complete the rest of the setup steps on your device. Your data will be transferred from the backup to your new iPhone, ensuring you don’t lose any valuable information.
Summary:
- Connect your old iPhone to iTunes and back it up.
- Ensure you have your Apple ID and password ready.
- On your new iPhone, choose “Restore from iTunes Backup” during setup.
- Connect your new iPhone to the computer and select the backup you want to transfer.
- Wait for the restore process to finish and complete the setup on your new device.
| Pros | Cons |
|---|---|
| Direct transfer without the need for iCloud or other methods. | Requires a backup of your previous device and your Apple ID and password. |
If you encounter any issues or need further assistance, you can always reach out to Apple Support for guidance. They are available to help you with any questions or concerns you may have during the data transfer process.
iTunes or Finder Method for iPhone Data Transfer
If you have a backup of your previous iPhone on your computer, you can use iTunes or Finder to easily transfer the data to your new device. This method is especially useful if you want to transfer all your apps, data, and settings to your new iPhone, ensuring a seamless transition.
To start the transfer process, follow these simple steps:
- Ensure that you have the latest version of iTunes installed on your computer. If you’re using a Mac with macOS Catalina or later, you can use Finder instead of iTunes.
- Connect your new iPhone to your computer using a USB cable.
- If prompted, enter your device passcode or choose “Trust This Computer” to proceed.
- Open iTunes or Finder, and you should see your iPhone listed.
- Select your iPhone in iTunes or Finder and choose the option to restore from a backup.
- Choose the backup you want to transfer to your new device. If your backup is encrypted, you’ll need to enter the password.
- Wait for the restore process to finish. This may take some time depending on the size of your backup and the speed of your computer.
- Once the restore is complete, follow the onscreen instructions on your new iPhone to complete the setup process.
It’s important to note that if your backup is not encrypted, your Health and Activity data won’t transfer. If you want to transfer this data, make sure to encrypt your backup before proceeding.
| Advantages | Disadvantages |
|---|---|
| – Allows for easy transfer of all data, apps, and settings | – Requires a backup of your previous iPhone on your computer |
| – Provides a seamless transition to your new device | – Restoring from a backup may take some time |
| – Ensures that your Health and Activity data transfers, if encrypted | – Health and Activity data won’t transfer if backup is not encrypted |
If you encounter any issues or need further assistance, you can always reach out to Apple Support for help. They will be able to guide you through the process and address any concerns you may have.
Erasing a Previous Device for iPhone Data Transfer
If you want to start fresh with your previous iPhone and transfer your data to a new device, it is important to erase the old device before beginning the transfer. Follow these steps to ensure a smooth transition:
Step 1: Backup Your Data
Before erasing your previous device, make sure you have a backup of all your important data. This includes contacts, photos, apps, messages, notes, music, and videos. You can use iCloud or iTunes/Finder to create a backup.
Step 2: Sign Out of Your Accounts
Sign out of all your accounts on your previous iPhone, such as iCloud, iTunes, App Store, and any other third-party apps you may have logged into. This will prevent any unwanted data from being transferred to your new device.
Step 3: Erase All Content and Settings
To erase your previous iPhone, go to Settings > General > Reset. From there, select “Erase All Content and Settings.” This will wipe your device clean and restore it to its factory settings. Make sure your device is connected to Wi-Fi and has enough battery power before starting the process.
Once the erasing process is complete, your previous iPhone will be ready to transfer data to a new device. Follow the instructions for the desired method of data transfer, such as Quick Start, iCloud, direct transfer, or iTunes/Finder.
| Benefits of Erasing a Previous Device |
|---|
| Ensures a clean slate for your old device |
| Prevents any unwanted data from being transferred |
| Makes the data transfer process smoother |
| Safeguards your privacy by removing personal information |
Remember, if you encounter any issues or need further assistance, you can always reach out to Apple Support for expert guidance. With these steps, you can confidently erase your previous iPhone and transfer your data seamlessly to your new device.
Conclusion
With our comprehensive guide, you now have multiple options to transfer your data from one iPhone to another, enabling you to enjoy your new device without any hassle.
One method is Quick Start, where you need to ensure that both devices are connected to Wi-Fi and Bluetooth is on. Follow the onscreen instructions to get started and keep the devices near each other and plugged in until the data migration process is complete.
Another option is using iCloud, which allows you to download your apps and data in the background. By enabling iCloud backup on your old iPhone and restoring it on your new one, you can effortlessly transfer your contacts, photos, apps, messages, notes, music, and videos.
If you prefer to transfer data from a previous device directly, you’ll need to wait for the transfer to complete on both devices. This method requires a backup of your previous device and your Apple ID and password. Make sure you have these ready before proceeding.
You can also use iTunes or Finder to transfer data from a backup. If your backup is not encrypted, your Health and Activity data won’t transfer. To transfer your backup to the new device, turn on the new device and follow the setup steps until you see the Apps & Data screen. Then, connect your new device to the computer you used for the backup, open iTunes or Finder, select your device, and choose the backup you want. Wait for the restore process to finish and complete the rest of the setup steps on your device.
If needed, you can erase your previous device before starting the transfer. This step ensures a clean slate for your old device while allowing you to seamlessly transfer your contacts, photos, apps, messages, notes, music, and videos.
For further assistance, you can contact Apple Support. They can provide additional guidance and help troubleshoot any issues you may encounter during the data transfer process. Enjoy your new iPhone with all your valuable data at your fingertips!
FAQ
Q: How do I transfer data from my old iPhone to a new one?
A: There are several methods you can use to transfer data from your old iPhone to a new one. You can use the Quick Start method, iCloud, direct transfer, or iTunes/Finder. Each method offers a different approach, but all will allow you to transfer contacts, photos, apps, messages, notes, music, and videos seamlessly.
Q: How does the Quick Start method work?
A: To use the Quick Start method, ensure that both devices are connected to Wi-Fi and Bluetooth is on. Follow the onscreen instructions to get started and keep the devices near each other and plugged in until the data migration process is complete. This method allows you to transfer all your data wirelessly.
Q: Can I use iCloud to transfer my data?
A: Yes, you can use iCloud to transfer your data. Enable iCloud backup on your old iPhone and restore it on your new one. This method allows you to download your apps and data in the background, making it a convenient option for transferring contacts, photos, apps, messages, notes, music, and videos.
Q: How can I transfer data directly from a previous device?
A: To transfer data directly from a previous iPhone, wait for the transfer to complete on both devices. Make sure you have a backup of your previous device and your Apple ID and password ready. By following the setup steps on your new device, you can transfer contacts, photos, apps, messages, notes, music, and videos.
Q: Can I use iTunes or Finder to transfer data from a backup?
A: Yes, you can use iTunes or Finder to transfer data from a backup. Connect your new device to the computer you used for the backup, open iTunes or Finder, select your device, and choose the backup you want. Wait for the restore process to finish, and complete the rest of the setup steps on your device. Please note that if your backup is not encrypted, your Health and Activity data won’t transfer.
Q: Should I erase my previous device before starting the transfer?
A: Erasing your previous iPhone before starting the data transfer process is recommended. This step ensures a clean slate for your old device while allowing you to transfer your contacts, photos, apps, messages, notes, music, and videos seamlessly to your new iPhone.