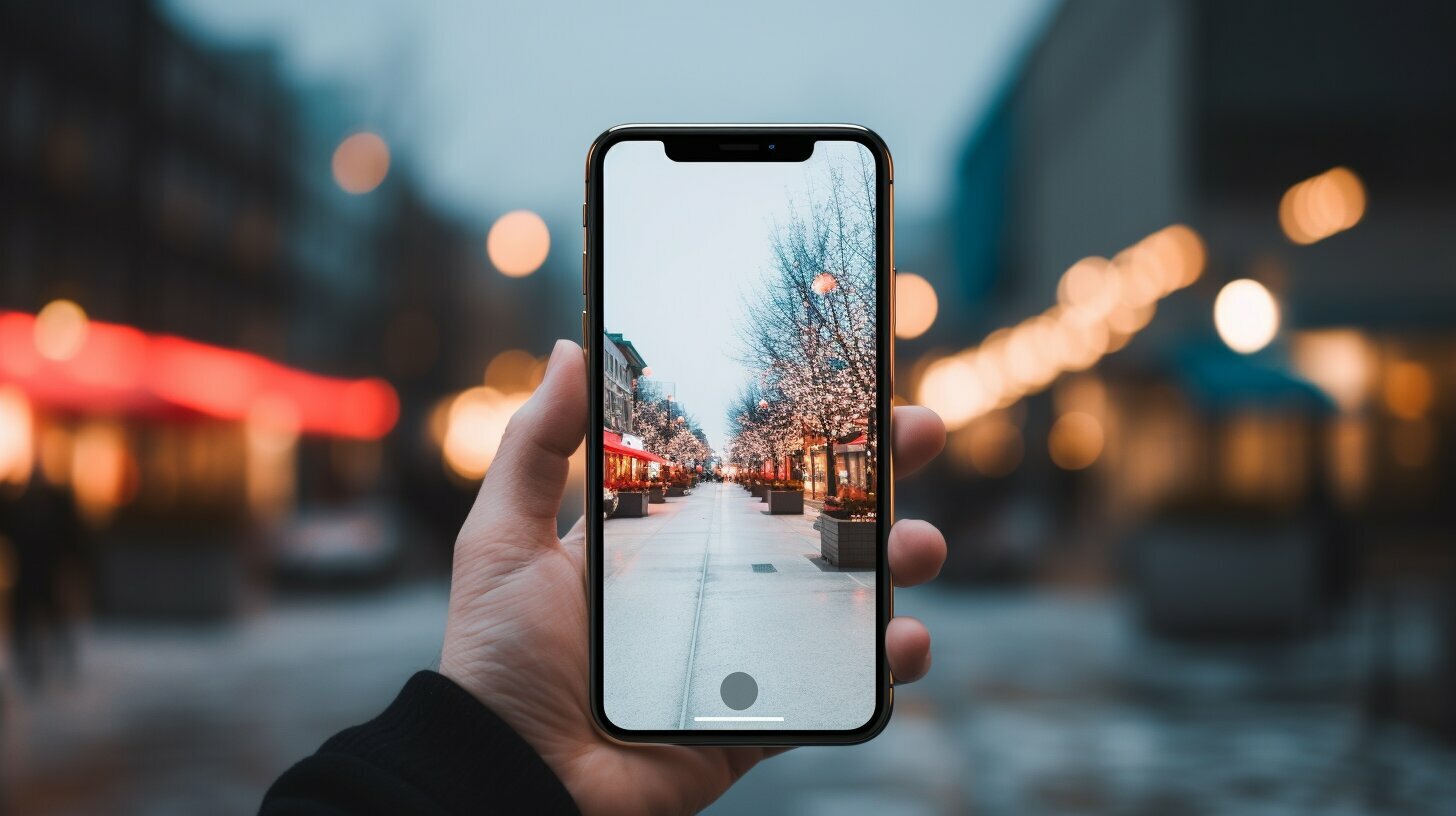
Are you looking to take your iPhone photography to the next level? Learn how to blur the background in iPhone photos with our easy, step-by-step guide.
To blur the background in iPhone photos and create professional-looking images, there are three techniques you can use. Let’s dive in!
Key Takeaways:
- Use Portrait mode on newer iPhone models to automatically create a soft, blurry background while keeping the subject in sharp focus.
- Get closer to your subject to naturally blur the background. Remember to maintain focus on the subject and choose a background with enough detail.
- Explore third-party apps like AfterFocus or Snapseed to manually blur the background in post-processing. These apps offer tools for precise background and foreground selection, as well as adjustable blur intensity and customizable effects.
- Experiment with different blur techniques and tools to enhance your iPhone photography skills and create stunning images.
- Remember to practice and have fun while mastering the art of background blur in iPhone photography!
Using Portrait mode for Background Blur
One of the easiest ways to achieve a beautiful background blur in your iPhone photos is by using Portrait mode, a feature available on newer iPhone models. This mode utilizes depth-effect software to create a soft, blurry background while keeping the subject in sharp focus. By selecting Portrait mode in the Camera app, you can effortlessly capture photos with this effect.
To capture a photo with a blurred background using Portrait mode, ensure that your subject is between two and eight feet from the camera. When you activate Portrait mode, you’ll notice that the background starts to blur, highlighting the subject in sharp focus. You can experiment with different lighting effects in the Camera app to further enhance your photos.
After taking a photo in Portrait mode, you can also edit the background blur using the Photos app. This allows you to adjust the blur strength to your preference or try out different Portrait Lighting effects. Simply open the photo in the Photos app, tap on the “Edit” button, and select the “Portrait” tab. From there, you can adjust the intensity of the background blur using the Depth slider.
Using Portrait mode: Step by Step
- Select Portrait mode in the Camera app.
- Ensure your subject is between two and eight feet from the camera.
- Wait for the depth-effect feature to activate and capture the photo.
- Open the photo in the Photos app and tap on “Edit”.
- Under the “Portrait” tab, adjust the background blur using the Depth slider.
| Benefits of using Portrait mode: | Limitations of using Portrait mode: |
|---|---|
|
|
With the Portrait mode feature, you can effortlessly achieve a soft, blurry background in your iPhone photos, giving them a professional touch. Whether you’re capturing portraits or everyday moments, experimenting with Portrait mode can elevate your photography skills and create stunning images.
Getting Closer to Your Subject
If you want to create a more pronounced blur effect, try getting closer to your subject when taking iPhone photos. By doing so, the background becomes blurrier, putting more emphasis on the main subject of your image. However, it’s important to ensure that the subject remains in focus and that the background has enough detail to be blurred effectively.
When using your iPhone camera, you can manually set the focus point by tapping on the screen. This allows you to control which area of the image is in sharp focus. If you want to lock the focus on a specific point, simply tap and hold on that area until the focus lock indicator appears on the screen. This ensures that the subject remains in focus even if you or the subject move slightly.
Remember that the distance between the camera and the subject also plays a role in determining the blur effect. The closer you are to the subject, the blurrier the background will be. Experiment with different distances to find the perfect balance between subject focus and background blur.
By getting closer to your subject and using the manual focus features of your iPhone camera, you can achieve a more professional-looking blur effect in your photos. This technique gives you more control over the depth of field and allows you to create stunning images with a beautifully blurred background.
Using Third-Party Apps for Background Blur
Take your background blur to the next level by utilizing third-party apps like AfterFocus and Snapseed. These apps offer advanced features that allow you to manually select the background and foreground, adjust the blur intensity, and create customized blur effects for your iPhone photos.
When using AfterFocus, you have the option to specify the background and foreground manually, giving you full control over which parts of your photo to blur. The app also provides a Smart Selection mode that automatically detects the subject and applies blur to the background. With its intuitive interface, you can easily achieve a professional-looking blur effect with just a few taps.
Snapseed, on the other hand, offers a Lens Blur tool that enables you to adjust the blur intensity and create radial or linear blur effects. This gives you the flexibility to experiment with different blur styles and enhance the visual impact of your photos. The app also provides precise control over the blur area, allowing you to selectively blur specific parts of the image while keeping other areas sharp.
Example: Creating a Radial Blur Effect
“After applying the Lens Blur tool in Snapseed, I selected the radial blur option to create a captivating focus effect. By adjusting the blur intensity and center point, I was able to draw attention to my subject while creating a beautifully blurred background. The final result was a stunning image that truly stood out.”
Overall, incorporating third-party apps like AfterFocus and Snapseed into your iPhone photography workflow can significantly enhance your ability to blur the background and create professional-looking images. These apps offer a wide range of features and customization options, giving you the creative freedom to take your photos to the next level.
| AfterFocus | Snapseed |
|---|---|
| Allows manual selection of background and foreground | Offers a Lens Blur tool with adjustable blur intensity |
| Provides Smart Selection mode for quick and precise selections | Enables creation of radial or linear blur effects |
| Intuitive interface for easy blur effect application | Precise control over the blur area |
Recommended Tools for Background Blur
To achieve professional-grade background blur in your iPhone photos, we recommend using popular apps like AfterFocus and Snapseed. These apps offer a range of powerful tools and features that allow you to customize and enhance the blur effect in your images.
AfterFocus is a user-friendly app that offers manual background and foreground selection, allowing you to precisely define which areas of your photo should be blurred. You can use the Smart Selection mode for quick and accurate selections, or manually trace the desired edges with your finger. This flexibility gives you complete control over the blur effect, ensuring that it complements your subject and creates a visually pleasing result.
| Features of AfterFocus: | Features of Snapseed: |
|---|---|
| – Manual background and foreground selection | – Lens Blur tool for adjustable blur intensity |
| – Smart Selection mode for quick selections | – Radial and linear blur effects |
| – Customizable blur strength | – Precision masking for accurate selections |
Snapseed is another highly recommended app for background blur. Its Lens Blur tool allows you to adjust the blur intensity, giving you full control over the depth of field in your photos. You can create beautiful radial or linear blur effects, adding a touch of artistic flair to your images. Additionally, Snapseed offers precision masking capabilities, allowing you to make accurate selections and apply the blur effect only where desired. With its intuitive interface and advanced features, Snapseed is a powerful tool for achieving professional-looking background blur in your iPhone photos.
Whether you choose AfterFocus or Snapseed, both apps provide the necessary tools to enhance your iPhone photography and create stunning images with beautifully blurred backgrounds. Experiment with different blur settings, try out different blur effects, and unleash your creativity to capture truly remarkable photos.
Conclusion
By mastering the art of background blur in iPhone photography, you can transform your photos into professional-grade masterpieces. There are three main techniques you can use to achieve this stunning effect.
The first technique is to utilize the Portrait mode on newer iPhone models. This mode uses depth-effect software to create a soft, blurry background while keeping the subject in sharp focus. Simply select Portrait mode in the Camera app, position your subject between two and eight feet from the camera, and wait for the depth-effect feature to activate. After capturing the photo, you can further enhance the background blur using the editing tools in the Photos app.
The second technique involves getting closer to your subject. By moving closer, you can naturally create a blurrier background. However, it’s important to ensure that your subject remains in focus and that the background has enough detail to be effectively blurred. You can manually set the focus point on your iPhone by tapping the screen or lock the focus by tapping and holding.
Lastly, you can utilize third-party apps like AfterFocus or Snapseed to blur the background during the editing process. AfterFocus allows for precise manual selection of the background and foreground, or you can utilize the Smart Selection mode for quicker selections. Snapseed offers a Lens Blur tool that provides the ability to adjust the intensity of the blur and create customized radial or linear blur effects.
With these techniques and tools at your disposal, you’ll be able to take your iPhone photography to the next level. Remember to experiment with different approaches and settings to achieve the desired results. So go ahead, unleash your creativity, and capture breathtaking photos with beautifully blurred backgrounds!
FAQ
Q: Can I blur the background in iPhone photos?
A: Yes, you can blur the background in iPhone photos using different techniques and tools.
Q: What is the first technique for blurring the background in iPhone photos?
A: The first technique is using Portrait mode, which creates a soft, blurry background while keeping the subject in sharp focus.
Q: How do I activate Portrait mode on my iPhone?
A: To activate Portrait mode, open the Camera app, select Portrait mode, and ensure your subject is between two and eight feet from the camera.
Q: Can I edit the background blur in iPhone photos taken with Portrait mode?
A: Yes, you can edit the background blur in iPhone photos taken with Portrait mode using the Photos app. You can adjust the blur strength and try different Portrait Lighting effects.
Q: What is the second technique for blurring the background in iPhone photos?
A: The second technique is to get closer to your subject, which makes the background blurrier. However, you need to ensure the subject remains in focus and that the background has enough detail to be blurred.
Q: How can I manually set the focus point on my iPhone?
A: You can manually set the focus point on your iPhone by tapping the screen. Alternatively, you can lock the focus by tapping and holding.
Q: Can I use third-party apps to blur the background in iPhone photos?
A: Yes, you can use third-party apps like AfterFocus or Snapseed to blur the background in iPhone photos.
Q: What features do AfterFocus and Snapseed offer for background blur?
A: AfterFocus allows you to manually specify the background and foreground or use Smart Selection mode for quick and precise selections. Snapseed offers a Lens Blur tool that allows you to adjust the blur intensity and customize radial or linear blur effects.
Q: Are there any recommended tools for background blur in iPhone photos?
A: Yes, AfterFocus and Snapseed are recommended tools for background blur in iPhone photos. AfterFocus offers manual selection options, while Snapseed provides a Lens Blur tool with various customization options.
Q: How can I enhance my photography skills with background blur in iPhone photos?
A: By using the right techniques and tools for background blur in iPhone photos, you can enhance your photography skills and create professional-looking images.