Are you wondering how to transfer your favorite apps from your iPhone to your iPad? Look no further! In this comprehensive guide, I will walk you through the step-by-step process of transferring apps, ensuring that your iPad has all the apps you love.
Transferring apps from an iPhone to an iPad can be done through various methods, offering different advantages and ease of use. Here are some of the techniques you can utilize:
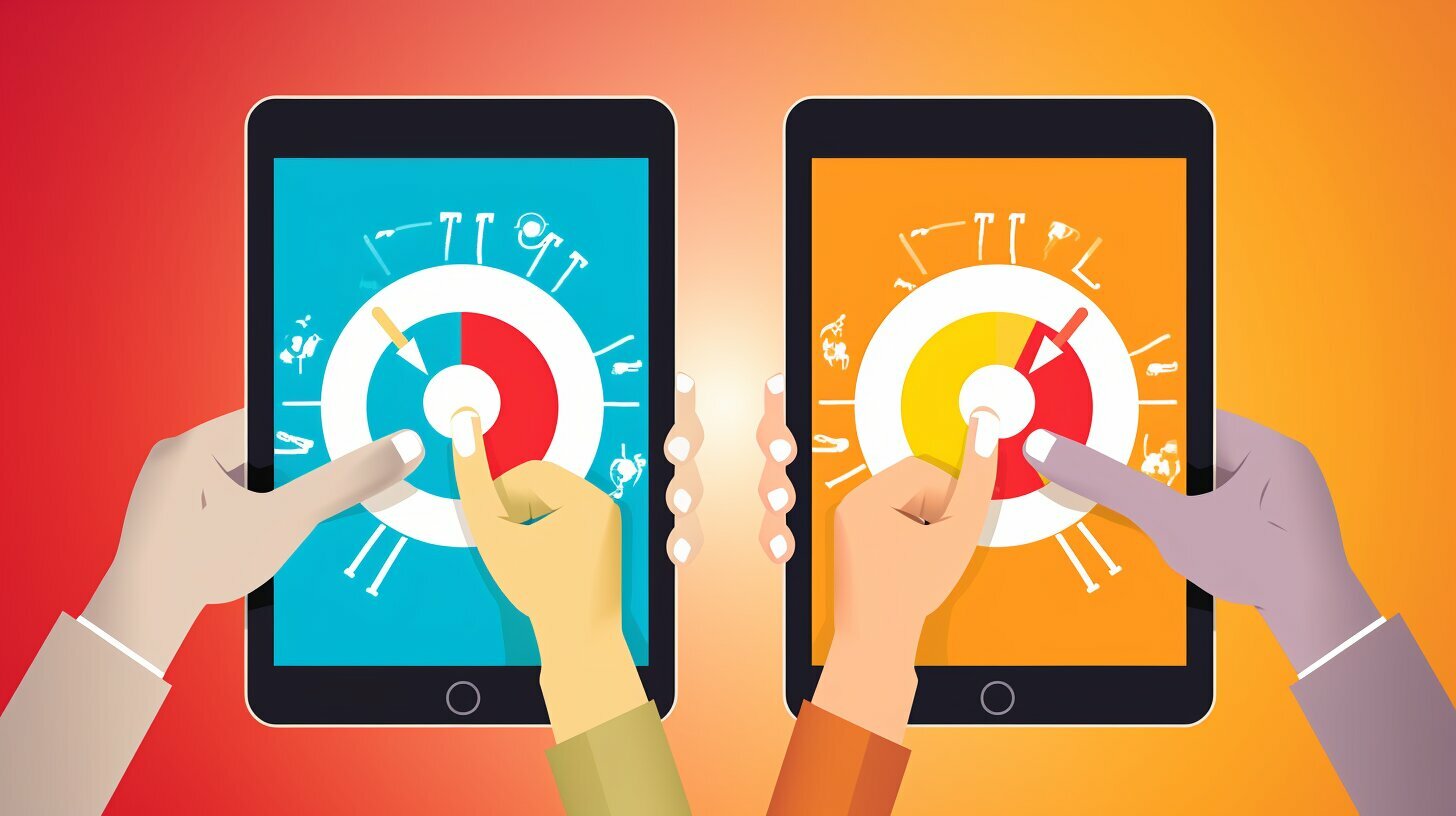
Key Takeaways:
- Use Quick Start for an effortless transfer between iOS devices.
- Simplify the process by utilizing third-party programs like MobileTrans – Phone Transfer.
- Share apps with loved ones using Family Sharing.
- Seamlessly transfer apps via iCloud.
- For a classic method, use iTunes to transfer apps from your iPhone to your iPad.
By following the detailed instructions in this guide, you’ll be able to transfer your apps from an iPhone to an iPad with ease. Let’s get started!
Quick Start – Effortlessly Transfer Apps between iOS Devices
Quick Start is a fantastic feature that allows you to seamlessly transfer apps from your iPhone to your iPad. Let me guide you through the simple process that will have your apps relocated in no time.
To begin, make sure both your iPhone and iPad are running on iOS 11 or later and are placed next to each other. You’ll also need to sign in to both devices using the same Apple ID. Now, let’s get started:
- Turn on your new iPad and place it near your iPhone.
- You’ll see a Quick Start prompt on your iPhone. Tap “Continue” to initiate the app transfer process.
- Use your iPhone to scan the animation that appears on your iPad.
- Once scanning is complete, your iPhone will display an animation asking if you want to set up your new iPad. Tap “Continue.”
- Follow the on-screen instructions to complete the setup process, including choosing your preferences for Face ID, Touch ID, and Apple Pay.
- After setting up your iPad, select “Transfer from iPhone” when prompted to transfer data.
- Now, your iPhone will show a process bar indicating the progress of the app transfer. Once it’s complete, all your apps, along with their data, will be transferred to your iPad.
That’s it! Your apps are now successfully transferred from your iPhone to your iPad using Quick Start. Enjoy your seamless app experience across devices!
| Advantages of Quick Start: |
|---|
| Effortless app transfer process |
| No need for additional apps or cables |
| Transfers app data and settings |
| Ensures a seamless app experience across devices |
Third-Party Programs – Simplifying App Transfer
If you prefer a more streamlined approach to transferring apps, third-party programs like MobileTrans – Phone Transfer can be a game-changer. Let’s dive into how you can use these programs to efficiently transfer your iPhone apps to your iPad.
MobileTrans – Phone Transfer is a trusted third-party program that simplifies the process of transferring apps from your iPhone to your iPad. With its user-friendly interface and powerful features, it takes the hassle out of app transfer.
Using MobileTrans – Phone Transfer is straightforward. Simply connect both your iPhone and iPad to your computer, launch the program, and follow the on-screen instructions. You can choose to transfer all your apps or select specific ones. The program will handle the transfer swiftly and securely, ensuring that your apps are seamlessly transferred to your iPad.
| Benefits of MobileTrans – Phone Transfer |
|---|
| 1. Easy to use: The intuitive interface of MobileTrans – Phone Transfer makes the app transfer process a breeze. |
| 2. Fast and efficient: The program transfers apps quickly, saving you time and effort. |
| 3. Selective transfer: You have the option to choose specific apps to transfer, giving you full control over the process. |
| 4. Data security: MobileTrans – Phone Transfer ensures that your app data remains safe and secure during the transfer process. |
With MobileTrans – Phone Transfer, transferring your iPhone apps to your iPad has never been easier. Say goodbye to manual app installations and enjoy a seamless app transfer experience.
Family Sharing – Sharing Apps with Loved Ones
Family Sharing is an incredible feature that allows you to share apps, books, movies, and music among family members. Let me show you how easy it is to transfer your iPhone apps to your iPad using Family Sharing.
To begin, make sure all devices are connected to the same Apple ID and have Family Sharing enabled. On your iPhone, go to Settings and tap on your name at the top of the screen. Then, select “Set Up Family Sharing” and follow the prompts to add family members to your iCloud account.
Once Family Sharing is set up, open the App Store on your iPhone and go to the “Purchased” tab. Here, you will find a list of all the apps you have purchased or downloaded. Tap on the app you want to transfer to your iPad, and then tap the “Cloud” button to download it to your iPad.
Now, grab your iPad and open the App Store. Go to the “Purchased” tab and you will see the app you just downloaded from your iPhone. Tap the “Cloud” button next to the app to initiate the download. Within seconds, the app will be transferred and ready to use on your iPad.
Benefits of Using Family Sharing
Family Sharing offers several advantages when it comes to transferring apps between Apple devices. Firstly, it eliminates the need to purchase the same app multiple times. By sharing apps, you can save money and enjoy the same content across your devices.
Moreover, Family Sharing simplifies the process of managing app purchases within a family. Parents can easily approve or decline app requests from their children, ensuring that the content accessed is age-appropriate.
| Key Benefits of Family Sharing |
|---|
| Cost savings by sharing app purchases |
| Easy management of app requests for parents |
| Access to a wide range of shared content |
Overall, Family Sharing is a convenient and efficient method to transfer apps from your iPhone to your iPad. It streamlines the process, saves you money, and ensures a seamless experience across all your Apple devices.
iCloud – Seamlessly Transfer Apps
Did you know that iCloud provides a convenient way to transfer apps from your iPhone to your iPad? Let’s explore the power of iCloud and how you can effortlessly transfer your favorite apps.
When it comes to transferring apps, iCloud offers a seamless and hassle-free solution. By turning on the “Apps” toggle switch in your iCloud settings, you can ensure that all your installed apps are backed up and readily available for transfer to your iPad. Once you’ve enabled the app syncing feature, iCloud will sync your app data across all your Apple devices, including your iPhone and iPad.
With iCloud, transferring apps is as easy as signing in to your iCloud account on your iPad and downloading the apps you wish to transfer. This eliminates the need to manually search for and download each app from the App Store, saving you time and effort. The best part? Your app data, including preferences and settings, will be preserved during the transfer process, ensuring a seamless transition from your iPhone to your iPad.
In addition to app syncing, iCloud also offers other convenient features such as device backup and file sharing. By utilizing iCloud, you can not only transfer apps but also ensure that your data is securely backed up and easily accessible across all your Apple devices. Whether you’re upgrading to a new iPad or simply want to enjoy your favorite apps on a larger screen, iCloud provides a reliable and efficient solution for transferring apps.
| iCloud Benefits for App Transfer |
|---|
| Effortlessly transfer apps between your iPhone and iPad. |
| Preserve app data, including preferences and settings. |
| Save time by avoiding manual app downloads. |
| Securely backup your app data and other files. |
| Enjoy easy access to your apps on multiple Apple devices. |
In Conclusion
With iCloud, transferring your favorite apps from your iPhone to your iPad has never been easier. By enabling app syncing in your iCloud settings, you can effortlessly transfer apps while preserving your app data. Whether you’re using Quick Start, third-party programs like MobileTrans – Phone Transfer, Family Sharing, iTunes, or the App Store, iCloud provides a seamless solution for app transfer. So, make the most of iCloud and enjoy your apps on all your Apple devices.
iTunes – Classic App Transfer Method
For those who prefer the classic approach, iTunes is an excellent option to transfer your apps from your iPhone to your iPad. Let’s dive into the steps and get your apps synced in no time.
First, you’ll need to authorize your computer. Open iTunes on your computer and click on “Account” in the menu bar. From the drop-down menu, select “Authorize This Computer” and enter your Apple ID and password. This step will ensure that your computer is allowed to access your apps and content.
Next, connect your iPhone to your computer using a USB cable. Once connected, click on the iPhone icon that appears in the iTunes window. From the left sidebar, select “File Sharing” and choose the apps you want to transfer to your iPad. Click on “Save to” and select a folder on your computer where the apps will be saved.
Now, disconnect your iPhone and connect your iPad to the computer using the USB cable. Again, click on the iPad icon in iTunes and select “File Sharing” from the left sidebar. Click on “Add File” and navigate to the folder where you saved the apps from your iPhone. Select the desired apps and click on “Open” to transfer them to your iPad.
| Pros | Cons |
|---|---|
|
|
Using iTunes to transfer apps from your iPhone to your iPad offers a classic and reliable method. It allows you to have full control over the transfer process and does not require an internet connection.
However, it is important to note that this method does have its limitations. You will need a computer with iTunes installed, and the process can be time-consuming, especially if you have a large collection of apps. Additionally, iTunes only transfers purchased apps, so any apps you downloaded for free will not be transferred.
Despite these limitations, iTunes remains a popular choice for users who prefer a more traditional approach to transferring apps. By following these simple steps, you can effortlessly sync your apps from your iPhone to your iPad.
App Store – Easy, One-Click Transfer
The App Store offers a seamless way to transfer your purchased apps from your iPhone to your iPad in just a few simple steps. Let’s explore how you can easily bring your favorite apps to your iPad using the App Store.
To begin, open the App Store on your iPad and tap on the “Updates” tab at the bottom of the screen. Next, tap on your profile picture or initials located in the top right corner of the screen. This will take you to your account settings.
Scroll down and tap on the “Purchased” option. Here, you will find a list of all the apps you have purchased or downloaded on your iPhone. To transfer an app to your iPad, simply locate the app in the list and tap the “Cloud” button next to it. The app will start downloading onto your iPad.
Repeat this process for each app you want to transfer. Once the apps are downloaded, you can rearrange them on your home screen or into folders, just like any other app on your iPad. It’s that easy!
| Benefits of using the App Store: |
|---|
| 1. Seamless transfer of purchased apps |
| 2. Easy-to-use interface |
| 3. Quick and convenient |
| 4. No need for additional software or tools |
With the App Store, you can enjoy all your favorite apps on your iPad without the hassle of manual transfers or third-party programs. It’s a simple, one-click solution that ensures a smooth and effortless experience.
Summary:
In summary, transferring apps from your iPhone to your iPad is a breeze with the App Store. By following a few easy steps, you can bring all your purchased apps to your iPad in no time. Simply open the App Store, go to your account settings, tap on “Purchased,” and download the apps to your iPad using the cloud button. Enjoy the convenience and simplicity of the App Store for all your app transfer needs!
Conclusion
Transferring apps from your iPhone to your iPad is a breeze with the various methods available. Whether you choose Quick Start, third-party programs like MobileTrans – Phone Transfer, Family Sharing, iCloud, iTunes, or the App Store, you can confidently move your apps and enjoy them on your iPad.
Quick Start offers a seamless transfer experience between iOS devices, allowing you to effortlessly transfer apps along with other data. It’s perfect for those who want a hassle-free approach.
If you prefer using third-party programs, MobileTrans – Phone Transfer is highly recommended. It simplifies the app transfer process, ensuring that all your apps are safely moved from your iPhone to your iPad.
Family Sharing is an excellent option if you want to share apps with your loved ones. Not only can you transfer apps, but you can also share books, movies, and music among family members, making it a convenient choice for families.
For those who rely on iCloud, transferring apps is as simple as toggling the “Apps” switch. This method allows for seamless synchronization between your iPhone and iPad, ensuring that all your apps are easily accessible on both devices.
If you prefer a more traditional method, iTunes is still a reliable choice. By authorizing your computer, transferring purchases from your iPhone, and syncing the apps to your iPad, you can easily transfer all your apps and enjoy them on your iPad.
Lastly, the App Store provides a one-click solution for transferring purchased apps to your iPad. By selecting the “Purchased” tab and tapping the “Cloud” button, you can quickly download all your previously purchased apps and start using them on your iPad.
In conclusion, no matter which method you choose, transferring apps from your iPhone to your iPad is a straightforward process. With each method offering its own advantages and ease of use, you can confidently move your apps and continue enjoying them on your iPad.
FAQ
Q: How can I transfer apps from my iPhone to my iPad?
A: There are several methods you can use to transfer apps from an iPhone to an iPad. You can use Quick Start, third-party programs like MobileTrans – Phone Transfer, Family Sharing, iCloud, iTunes, or the App Store. Each method offers its own advantages and ease of use.
Q: What is Quick Start and how does it work for transferring apps between iOS devices?
A: Quick Start is a feature that allows for an easy transfer of data, including apps, between iOS devices. To transfer apps from an iPhone to an iPad using Quick Start, simply ensure both devices are running the latest version of iOS, place them close to each other, and follow the prompts on the screen.
Q: Are there any third-party programs that can simplify app transfer from iPhone to iPad?
A: Yes, there are third-party programs like MobileTrans – Phone Transfer that can simplify the process of transferring apps from an iPhone to an iPad. These programs offer user-friendly interfaces and make it easy to transfer apps and other data between devices.
Q: Can I share apps with my family members using Family Sharing?
A: Yes, Family Sharing allows you to share apps, books, movies, and music with your family members. To transfer apps from your iPhone to your iPad using Family Sharing, make sure both devices are signed in to the same Apple ID and enable Family Sharing in the settings.
Q: How can I transfer apps from my iPhone to my iPad using iCloud?
A: To transfer apps using iCloud, simply ensure both devices are connected to the internet and signed in to the same Apple ID. On your iPhone, go to Settings, tap your name, select iCloud, and turn on the “Apps” toggle switch. The apps will then be downloaded to your iPad from the App Store.
Q: Can I transfer apps from my iPhone to my iPad using iTunes?
A: Yes, you can transfer apps from your iPhone to your iPad using iTunes. First, authorize your computer by signing in to your Apple ID. Then, connect your iPhone to the computer, open iTunes, and go to the “Devices” section. Transfer purchases from your iPhone to iTunes, and finally, sync the apps to your iPad.
Q: Is there a simple way to transfer purchased apps from my iPhone to my iPad through the App Store?
A: Yes, the App Store provides a simple way to transfer purchased apps to your iPad. Open the App Store on your iPad, go to the “Purchased” tab, and select the “Not on This iPad” option. Tap the “Cloud” button next to the apps you want to transfer, and they will be downloaded and installed on your iPad.