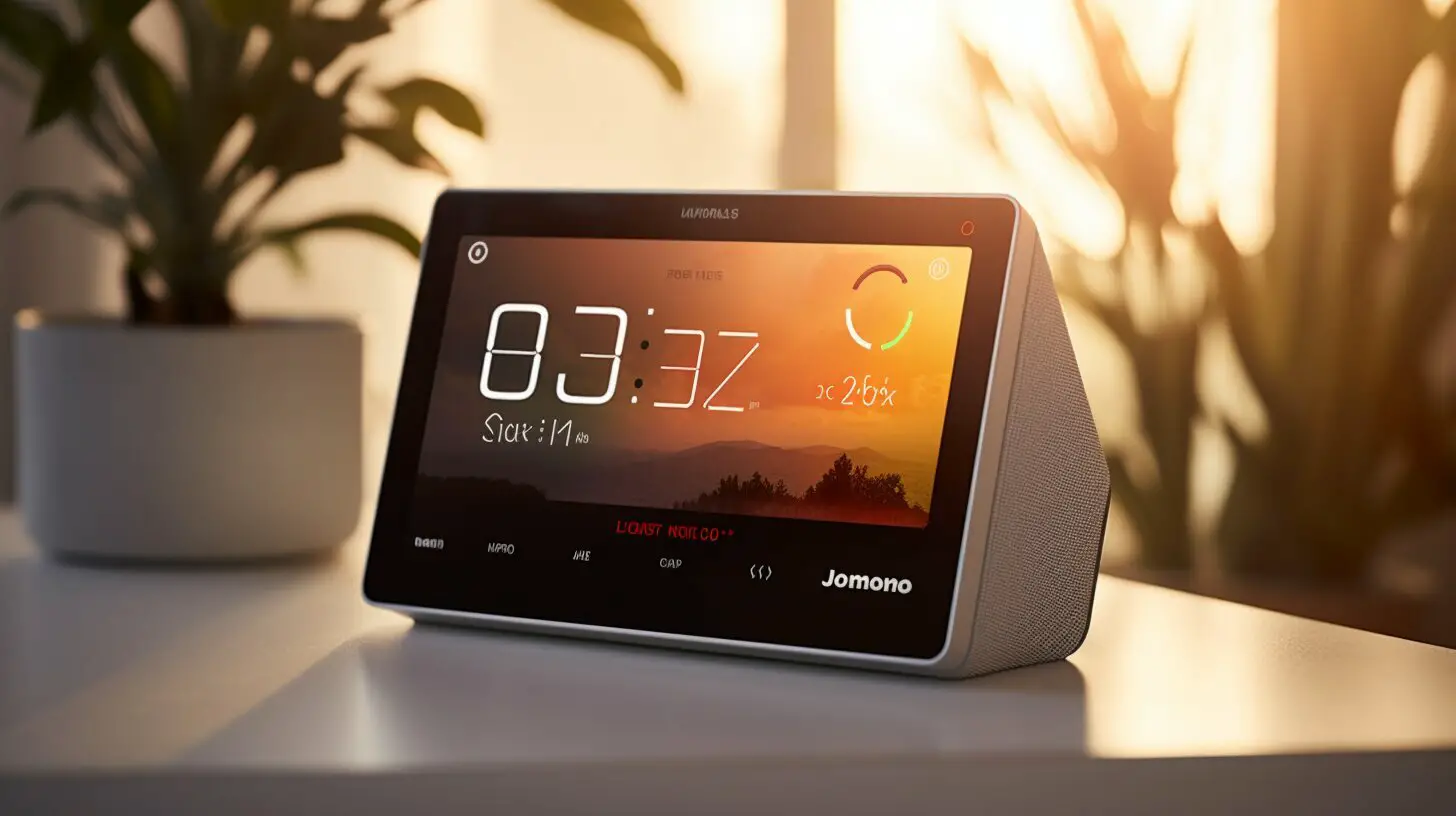
If you’re looking for a smart clock that can do more than just tell time, the Lenovo Smart Clock is a great option. This device can do everything from playing music and setting reminders to controlling your smart home devices. However, to take advantage of all these features, you will need to connect your Lenovo Smart Clock to wifi.
In this article, I’ll walk you through the process of setting up and connecting your Lenovo Smart Clock to your wireless network. I’ll also provide tips for troubleshooting any wifi issues you may encounter and maximizing your smart clock’s wifi performance.
Key Takeaways:
- The Lenovo Smart Clock requires a wifi connection to access all its features
- There are several steps involved in setting up and connecting the device to your wireless network
- If you experience any wifi issues, there are troubleshooting tips you can try
- Maximizing your smart clock’s wifi performance can improve its overall functionality
Setting Up Lenovo Smart Clock for Wifi Connection
So, you’ve just bought your Lenovo Smart Clock and are excited to set it up for wifi connectivity. Don’t worry, it’s a straightforward process. Here’s how to configure your Lenovo Smart Clock for wifi:
| Step | Description |
|---|---|
| 1 | Make sure your Lenovo Smart Clock is powered on and within range of your wifi network. |
| 2 | Go to the main menu by swiping down from the top of the screen. |
| 3 | Select “Settings” and then choose “Network & internet.” |
| 4 | Tap on “Wifi” and select your wireless network from the list of available networks. |
| 5 | Enter your wifi network password if prompted. The clock will attempt to connect to the network. |
| 6 | If the connection is successful, you will see the “Connected” status displayed next to your network name. |
That’s it! Your Lenovo Smart Clock is now connected to your wifi network and ready to use. If you encounter any issues during set up, don’t worry, we’ll cover some common troubleshooting tips later in this article.
Connecting Lenovo Smart Clock to Wifi Network
Now that you have set up your Lenovo Smart Clock for wifi connection, it’s time to actually connect it to your wifi network.
Here’s your Lenovo Smart Clock wifi setup guide to walk you through the process:
- Swipe down from the top of the screen to pull down the settings menu.
- Select the gear icon in the top right corner to access device settings.
- Select “Network & internet” from the menu.
- Select “Wi-Fi”.
- Ensure that the Wi-Fi toggle switch is turned on.
- Locate your wifi network in the list of available networks. If it is not shown, select “Add Network” and manually enter your network name (SSID) and password.
- Select your network and enter the password when prompted.
- Wait for your Lenovo Smart Clock to connect to your wifi network.
Once your Lenovo Smart Clock is connected to your wifi network, you should see the wifi icon in the top right corner of the screen. This means that your Lenovo Smart Clock is now online and ready to use.
Troubleshooting Lenovo Smart Clock Wifi Issues
If you are having trouble connecting your Lenovo Smart Clock to your wifi network, try the following troubleshooting steps:
- Ensure that your wifi network is working properly by connecting other devices to it.
- Restart your Lenovo Smart Clock.
- Try moving your Lenovo Smart Clock closer to your wireless router.
- Reset your wifi connection by toggling the switch off and on, or by selecting “Forget Network” and then reconnecting to your wifi network.
- Check that your wifi network and password are correct.
If you are still having issues with your Lenovo Smart Clock wifi connectivity, you can try resetting your device to its factory settings. This will erase all of your previous settings and restore your device to its original state.
Now that you know how to connect your Lenovo Smart Clock to wifi and troubleshoot any issues, you can start enjoying the full benefits of your smart clock online.
Troubleshooting Lenovo Smart Clock Wifi Issues
If you’re experiencing Lenovo Smart Clock wifi issues, don’t worry – there are a few things you can try to troubleshoot the problem.
Check Your Wifi Network
The first thing to do is to make sure your wifi network is working properly. Check to see if other devices are able to connect to your wifi network. If they can’t, then the issue may be with your internet service provider or your router. Try restarting your router to see if that resolves the issue.
Move Your Lenovo Smart Clock Closer to Your Router
If your wifi network is working properly, but you’re still having trouble connecting your Lenovo Smart Clock to your wifi, try moving the clock closer to your router. This can help improve the wifi signal strength and make it easier for the clock to connect.
Reset Your Lenovo Smart Clock
If moving the clock closer to your router doesn’t work, try resetting your Lenovo Smart Clock. To do this, unplug the clock from its power source for 10 seconds, and then plug it back in. This will reset the clock and may resolve any wifi connectivity issues.
Double Check Your Wifi Password
Another common issue is entering the wrong wifi password. Double check that you’re entering the correct password when trying to connect your Lenovo Smart Clock to your wifi network.
Contact Lenovo Support
If none of these troubleshooting steps work, you can contact Lenovo support for further assistance. They may be able to help you diagnose and resolve any issues you’re having with your Lenovo Smart Clock wifi connectivity.
Don’t let wifi issues get in the way of enjoying all the features of your Lenovo Smart Clock. With a few simple troubleshooting steps, you can get your clock connected to your wifi network in no time.
Lenovo Smart Clock Wifi Setup Tips
Now that we have gone through the basics of setting up Lenovo Smart Clock for wifi connection, let’s share some tips to ensure a smooth and hassle-free Lenovo Smart Clock setup experience.
- Ensure that your Lenovo Smart Clock is within range of your wifi router. If you experience connectivity issues, try moving your Smart Clock closer to the router.
- Double-check your wifi network name and password before entering them into the Lenovo Smart Clock setup screen to avoid errors.
- If you have multiple wifi networks in your home, be sure to connect your Lenovo Smart Clock to the 2.4GHz network rather than the 5GHz network. The Smart Clock is not compatible with the 5GHz network.
- Restart your wifi router if you experience connectivity issues. This can often resolve connection issues.
- Make sure your Lenovo Smart Clock is running the latest software updates. This can help to improve wifi performance and resolve any known issues.
Following these tips will help to ensure that your Lenovo Smart Clock setup process is successful and that you can enjoy all the features and benefits that the Smart Clock has to offer.
Additional Tips for Lenovo Smart Clock Wifi Connectivity
As I mentioned earlier, connecting your Lenovo Smart Clock to a wireless network is a quick and easy process. However, there are a few additional tips that can help ensure a seamless experience.
- Keep the clock within range of the router: The closer the clock is to the router, the stronger the wifi signal will be. I recommend placing it in a location with the fewest obstructions – such as walls or furniture – between it and the router.
- Ensure the router is up to date: Make sure your router is running the latest firmware and is functioning properly. An outdated or malfunctioning router can cause connectivity issues.
- Restart the clock: If you’re experiencing connectivity issues, try restarting the clock by unplugging it for a few seconds and plugging it back in. This simple step can often resolve any issues.
In addition, consider the security of your network. Make sure you have set up a secure network using a strong password to prevent unauthorized access.
By following these tips, you can maximize the performance of your Lenovo Smart Clock and enjoy all its features without any connectivity issues.
Maximizing Lenovo Smart Clock’s Wifi Performance
Once you have connected your Lenovo Smart Clock to the wifi network, there are a few things you can do to ensure it performs optimally:
- Place your smart clock in a central location: To ensure the best possible signal strength, place your Lenovo Smart Clock in a central location that is free from obstructions.
- Check for wifi interference: If your Smart Clock is not performing well, there may be other devices in your home that are causing interference. Move any electronic devices away from your Smart Clock to see if this improves its performance.
- Restart your smart clock: Occasionally, restarting your Lenovo Smart Clock can help improve its performance. To do this, simply unplug it from the power source for a few seconds and then plug it back in.
- Update your firmware: Lenovo occasionally releases firmware updates for their Smart Clocks, which can improve performance and fix bugs. Keep an eye out for firmware updates and install them as soon as they are released.
- Check your wifi speed: If you are experiencing slow wifi speeds, check your internet connection to ensure you have the fastest possible connection. You can also try switching to a different wifi network or upgrading your internet service plan.
By following these tips and best practices, you can ensure that your Lenovo Smart Clock performs optimally and provides you with a seamless and enjoyable experience.
Conclusion
In conclusion, connecting your Lenovo Smart Clock to your wireless network is a simple process that can be done in just a few minutes. With the right steps and precautions, you can be sure to have a fast and stable connection that will allow you to enjoy all the features and benefits of your smart clock to the fullest.
Remember to follow the steps for setting up your Lenovo Smart Clock for wifi connection, connecting it to your wireless network, troubleshooting any issues that may arise, and maximizing its wifi performance. Additionally, keep in mind these helpful tips for a smooth and hassle-free experience.
As a proud owner of a Lenovo Smart Clock, I can say that this device has been a game-changer for me, and I hope it will be the same for you. So, go ahead and connect it to your wireless network!
FAQ
Q: How do I connect my Lenovo Smart Clock to Wifi?
A: To connect your Lenovo Smart Clock to Wifi, follow these steps:
1. Turn on your Lenovo Smart Clock.
2. On the Smart Clock screen, tap on the gear icon to access settings.
3. Select “Network & Internet” from the settings menu.
4. Tap on “Wifi” and select your Wifi network from the list.
5. Enter your Wifi password when prompted.
6. Wait for the Smart Clock to connect to your Wifi network.
7. Once connected, you will see the Wifi icon on the Smart Clock screen.
Q: How do I set up my Lenovo Smart Clock for Wifi connection?
A: Setting up your Lenovo Smart Clock for Wifi connection is easy. Here’s how:
1. Plug in your Lenovo Smart Clock and turn it on.
2. Follow the on-screen instructions to set up the clock.
3. When prompted, select your preferred language and connect to Wifi.
4. Tap on “Connect to Wifi” and select your Wifi network from the list.
5. Enter your Wifi password and wait for the Smart Clock to connect.
6. Once connected, you can customize your clock settings and start using it.
Q: How can I troubleshoot Lenovo Smart Clock Wifi issues?
A: If you’re experiencing Wifi issues with your Lenovo Smart Clock, try these troubleshooting steps:
1. Make sure your Wifi network is working properly and other devices can connect to it.
2. Restart your Lenovo Smart Clock by unplugging it and plugging it back in.
3. Check if your Wifi network is within range of the Smart Clock.
4. Reset the network settings on your Smart Clock and try connecting again.
5. If all else fails, contact Lenovo customer support for further assistance.
Q: Do you have any tips for setting up Lenovo Smart Clock Wifi?
A: Yes! Here are a few tips for setting up Lenovo Smart Clock Wifi:
– Make sure you have the latest firmware update for your Smart Clock.
– Place the Smart Clock in an area with strong Wifi signal.
– Avoid placing the Smart Clock near other electronic devices that may cause interference.
– Double-check your Wifi password to ensure it’s entered correctly.
– If you’re still having trouble, try restarting your Wifi router.
Q: Any additional tips for Lenovo Smart Clock Wifi connectivity?
A: Absolutely! Here’s an additional tip for better Lenovo Smart Clock Wifi connectivity:
– If you have multiple Wifi networks in your home, try connecting the Smart Clock to a different network to see if it improves the signal strength.
Q: How can I maximize the Wifi performance of my Lenovo Smart Clock?
A: To maximize the Wifi performance of your Lenovo Smart Clock, consider these tips:
– Position the Smart Clock within range of your Wifi router for the best signal.
– Make sure your Wifi router is placed in a central location for better coverage.
– Check if there are any firmware updates available for your Smart Clock and install them.
– If you have multiple devices connected to the same Wifi network, consider upgrading your internet plan for faster speeds.
