Are you tired of watching movies and TV shows on an old, outdated home theater system? It’s time to revamp your entertainment setup and upgrade to a smart TV. But how do you connect your old home theater system to a smart TV? In this article, I will guide you through the step-by-step process to successfully connect your old home theater system to a smart TV.
Key Takeaways:
- To upgrade to a smart TV, you need to understand how to connect your old home theater system to the new device.
- Assess the compatibility of each component of your old home theater system with the smart TV to ensure a successful connection.
- Understanding the different types of connections available on a smart TV is key to connecting your old home theater system successfully.
- By following our step-by-step guide, you can connect your old receiver, speakers, DVD/Blu-ray player, VCR, and game console to your smart TV.
- If you encounter any problems during the installation process, our troubleshooting tips can help you solve them.
Assessing Your Old Home Theater System
Before connecting your old home theater system to your smart TV, it’s important to assess whether your components are compatible. Here are some things to consider:
| Component | Compatibility Check |
|---|---|
| Receiver | Check the inputs and outputs of your receiver. Look for HDMI, RCA, and optical connections. Make sure your receiver supports the audio formats used by your TV. |
| Speakers | Identify the types of connections supported by your speakers. Look for RCA, optical, and analog connections. Make sure your speakers are compatible with your receiver and TV. |
| DVD and Blu-ray Players | Check the compatibility of your DVD and Blu-ray players. Look for HDMI and optical connections. Ensure your players are capable of playing the type of discs you want to watch. |
| VCR | Determine the type of connection used by your VCR. Look for RCA and coaxial connections. Ensure your VCR is capable of playing the type of tapes you want to watch. |
| Game Console | Check the compatibility of your game console. Look for HDMI and optical connections. Make sure your console is capable of playing the type of games you want to play. |
By conducting this assessment, you can determine whether your old components are compatible with your smart TV. This will help you avoid any issues during the connection process and ensure you get the most out of your entertainment system.
Tips:
- Refer to the manuals for your components if you’re unsure about their compatibility.
- Consider upgrading your older components if they’re not compatible with your smart TV.
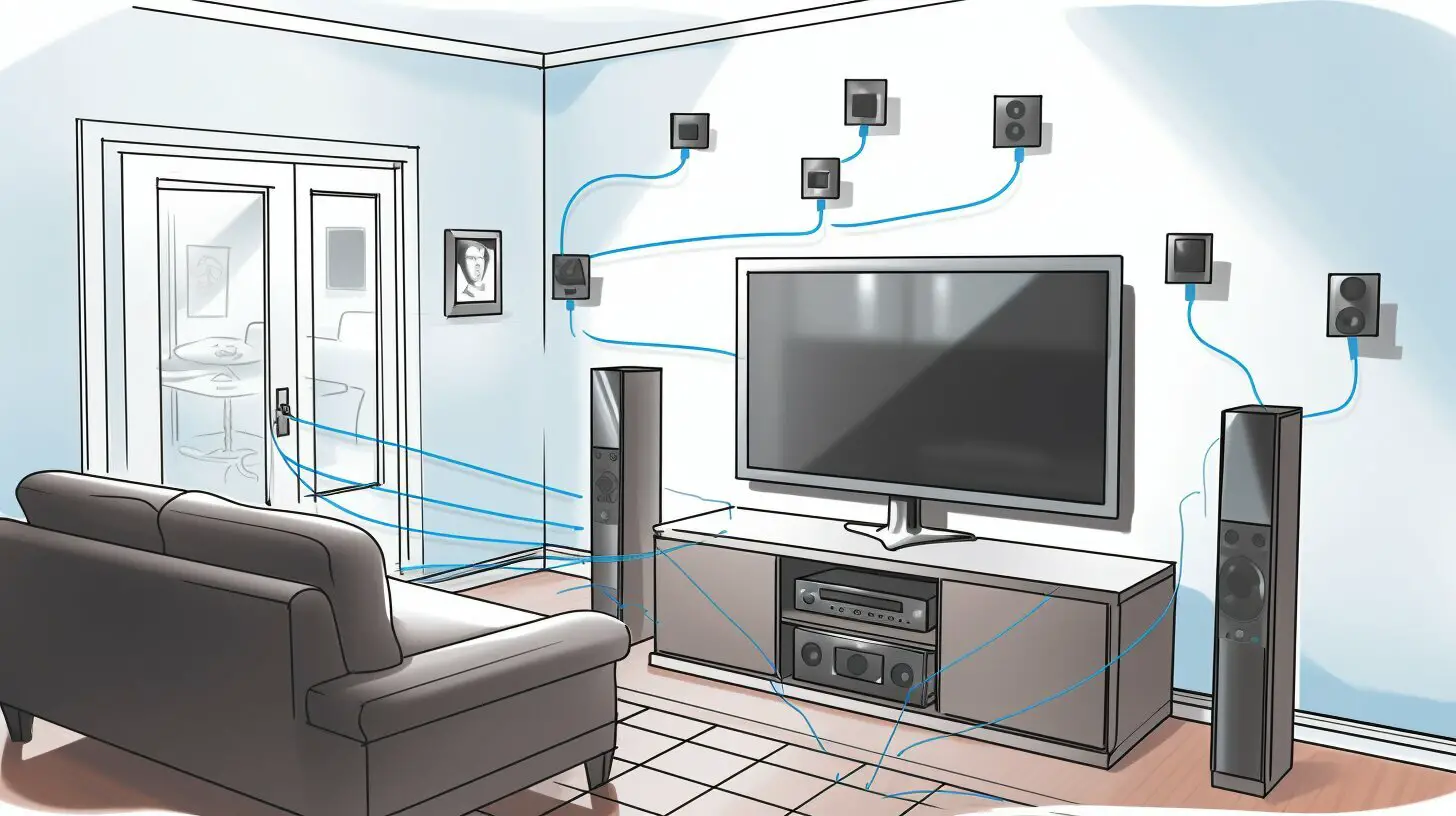
Understanding Smart TV Connections
When it comes to connecting an old home theater system to a smart TV, it is essential to understand the different types of connections available on a smart TV. These connections allow you to transmit audio and video signals between your TV and your other home theater components.
The most common type of connection for home theater systems is HDMI. This connection allows you to transmit high-quality audio and video signals between your TV and other home theater devices, such as receivers, DVD players, and gaming consoles. HDMI connections are often found on the side or back of a TV and are labeled as HDMI 1, HDMI 2, and so on.
Other connection types include RCA, optical, and coaxial. RCA connections are often found on older TVs and use red, white, and yellow cables to transmit audio and video signals. Optical connections use fiber optic cables to transmit high-quality audio signals, while coaxial connections use a single cable to transmit both audio and video signals.
Connecting the Receiver to the Smart TV
Now that you have assessed the compatibility of your old home theater system and learned about the different connection options available on your smart TV, it’s time to connect the receiver to the TV.
The first step is to identify the appropriate audio output on your TV. Look for an HDMI ARC (Audio Return Channel) port, if available, as this will provide the best audio quality. If your TV doesn’t have an ARC port, you can use the optical output or the RCA jacks.
Next, connect one end of the HDMI cable or the optical cable to the audio output on your TV and the other end to the corresponding input on your receiver. If you’re using the RCA jacks, connect the red and white cables to the audio output on your TV and the other end to the corresponding input on your receiver.
Once the cables are connected, turn on your TV and receiver and navigate to the audio settings on your TV. Select the audio output as “external speakers” or “receiver” to ensure that the sound is routed through the receiver and speakers.
With these simple steps, you have successfully connected the receiver to your smart TV, and you’re now ready to enjoy superior sound quality for your favorite TV shows and movies!
Connecting the Speakers to the Smart TV
Now that we have connected the receiver, it’s time to connect the old speakers to the smart TV. First, you need to identify the types of speaker connections supported by your TV. Most modern smart TVs support Bluetooth, Wi-Fi, and wired connections like RCA and optical audio cables.
If your speakers support Bluetooth, you can easily connect them to the smart TV wirelessly. To do this, turn on Bluetooth on both the TV and the speakers, and pair them by following the on-screen instructions. You can also connect your speakers using Wi-Fi if they support this type of connection. To do this, go to the TV’s settings menu and select the Wi-Fi option. Then, connect to your home network and find your speakers in the list of available devices.
If your speakers don’t support wireless connections, you can connect them to the TV using either RCA or optical audio cables. To connect using RCA cables, locate the RCA audio output on the TV and connect it to the RCA input on the speakers using the red and white cables. To connect using optical audio cables, locate the optical audio output on the TV and connect it to the optical input on the speakers using the appropriate cable.
Once you have connected the speakers, make sure to set up the audio settings on your TV to get the best sound quality. You can adjust the volume, bass, treble, and other sound settings from the TV’s settings menu.
With the speakers connected, you can now enjoy an immersive audio experience to complement the high-quality visuals of your smart TV.
Connecting the DVD/Blu-ray Player, VCR, and Game Console
Now that we have successfully connected the receiver and speakers to the smart TV, it’s time to connect the other devices like DVD/Blu-ray player, VCR, and game console to your smart TV. Here is how you can do it:
| Device | Connection Type |
|---|---|
| DVD player or Blu-ray player | HDMI or Composite video/audio RCA cable |
| VCR | Coaxial cable or Composite video/audio RCA cable |
| Game console (PS4, Xbox One, etc.) | HDMI or Component video/audio RCA cable |
First, identify the compatible inputs on the TV for your device. For example, if you want to connect your DVD/Blu-ray player, look for an available HDMI or Composite video/audio input.
Next, connect the device to the TV using the correct cable. If you are using an HDMI cable, plug one end into the device’s HDMI output and the other end into the TV’s HDMI input. If you are using a Composite video/audio RCA cable, connect the yellow, white, and red plugs to the corresponding colored jacks on both the device and the TV.
Finally, configure the settings on the device and the TV, if necessary. For example, you may need to change the input on the TV to the one that you connected the device to, or adjust the resolution and aspect ratio to fit your screen.
Repeat the above steps for each device you want to connect to your TV. With all the components properly connected, you can now enjoy your favorite movies, shows, and games on your new smart TV!
Connecting Old Home Theater to Smart TV: Troubleshooting Tips
Despite following the step-by-step guide, some issues may arise when connecting an old home theater system to a smart TV. In this section, I will provide troubleshooting tips for common problems.
No sound
If you’re experiencing no sound, check if all the connections are correctly plugged in. Ensure that the audio output on the TV matches the audio input on the receiver. Also, double-check if the receiver is set to the correct input. If these steps don’t work, try adjusting the audio settings on both the TV and the receiver.
Distorted Audio
If the audio is distorted, check if the cables are damaged or if they’re not plugged in properly. If using an RCA cable, ensure it’s connected to the correct colored input/output. If using an optical cable, make sure the plastic cover has been removed from both ends. Also, check that the volume levels are not too high or too low on the TV and the receiver.
Incompatible Connections
If you’re having trouble connecting a particular device, check if it’s compatible with the TV. Some older devices may not be compatible with newer TVs, so check the device manual for a list of supported connections. If the device is compatible, ensure that you are using the correct input and output cables and that they are properly plugged in.
Remember, if you’re still having trouble with your old home theater system, don’t hesitate to consult a professional. They’ll be able to better assess the problem and provide a solution.
By following these simple troubleshooting tips, you’ll be able to overcome most issues and successfully connect your old home theater to a smart TV.
Conclusion
Now that you have followed the step-by-step guide on how to connect your old home theater system to a smart TV, you can enjoy an enhanced TV viewing experience. By upgrading to a smart TV, you can access a variety of streaming services and enjoy high-quality audio and video.
It’s important to note that not all components of an old home theater system may be compatible with a smart TV. It’s essential to assess each component’s compatibility and identify the appropriate cables and connections needed for setup.
If you encounter any issues during the setup process, refer to the troubleshooting tips provided in this guide. These tips will help you quickly resolve common problems such as no sound or distorted audio.
Revamping your entertainment setup may seem daunting, but it’s worth the effort for the enhanced viewing experience. Follow this guide, and you’ll be able to connect your old home theater system to a smart TV in no time.
FAQ
Q: How do I connect my old home theater system to a smart TV?
A: To connect your old home theater system to a smart TV, you’ll need to assess the compatibility of your components, understand the smart TV connections, and follow the step-by-step guide provided in this article.
Q: What are the different components of an old home theater system?
A: An old home theater system typically consists of a receiver, speakers, a DVD player, a Blu-ray player, a VCR, and a game console.
Q: How can I check the compatibility of my old home theater system with a smart TV?
A: You can assess the compatibility of your old home theater system by checking the inputs and outputs of your receiver, the types of connections supported by your speakers, and the compatibility of your DVD player, Blu-ray player, VCR, and game console with smart TVs.
Q: What are the different connection options available on a smart TV?
A: Smart TVs typically have various connection options, including HDMI, RCA, optical, and others. Each connection type has its advantages and disadvantages.
Q: How do I connect my old receiver to a smart TV?
A: To connect your old receiver to a smart TV, you need to identify the appropriate audio output on the TV and use the correct cables to connect it to the receiver.
Q: How can I connect my old speakers to a smart TV?
A: To connect your old speakers to a smart TV, you’ll need to identify the types of speaker connections supported by the TV, use the appropriate cables to connect the speakers to the TV, and set up the audio settings.
Q: How do I connect my old DVD player, Blu-ray player, VCR, and game console to a smart TV?
A: To connect your old DVD player, Blu-ray player, VCR, and game console to a smart TV, you’ll need to identify the compatible inputs on the TV, use the correct cables to connect the devices, and configure the settings.
Q: What should I do if I encounter issues when connecting my old home theater system to a smart TV?
A: If you encounter issues when connecting your old home theater system to a smart TV, you can refer to the troubleshooting tips provided in this article. The tips cover common problems such as no sound, distorted audio, and incompatible connections.
Q: What is the importance of following this step-by-step guide?
A: Following this step-by-step guide will help you successfully connect your old home theater system to a smart TV, revamp your entertainment setup, and enjoy an enhanced TV viewing experience.
