Switching to a new iPhone? Learn how to transfer your service seamlessly with this easy-to-follow guide.
Key Takeaways:
- Transferring service to a new iPhone can be done during or after setup.
- During setup, if your carrier supports eSIM Quick Transfer, you can follow the onscreen instructions.
- After setup, you can transfer the plan via eSIM Carrier Activation, Bluetooth, or QR code.
- If the transfer doesn’t work, try updating your carrier, force restarting your iPhone, ensuring a stable Wi-Fi connection, or updating iOS.
- To transfer WhatsApp messages from an Android to the new iPhone, use a third-party tool like Tenorshare iCareFone Transfer.
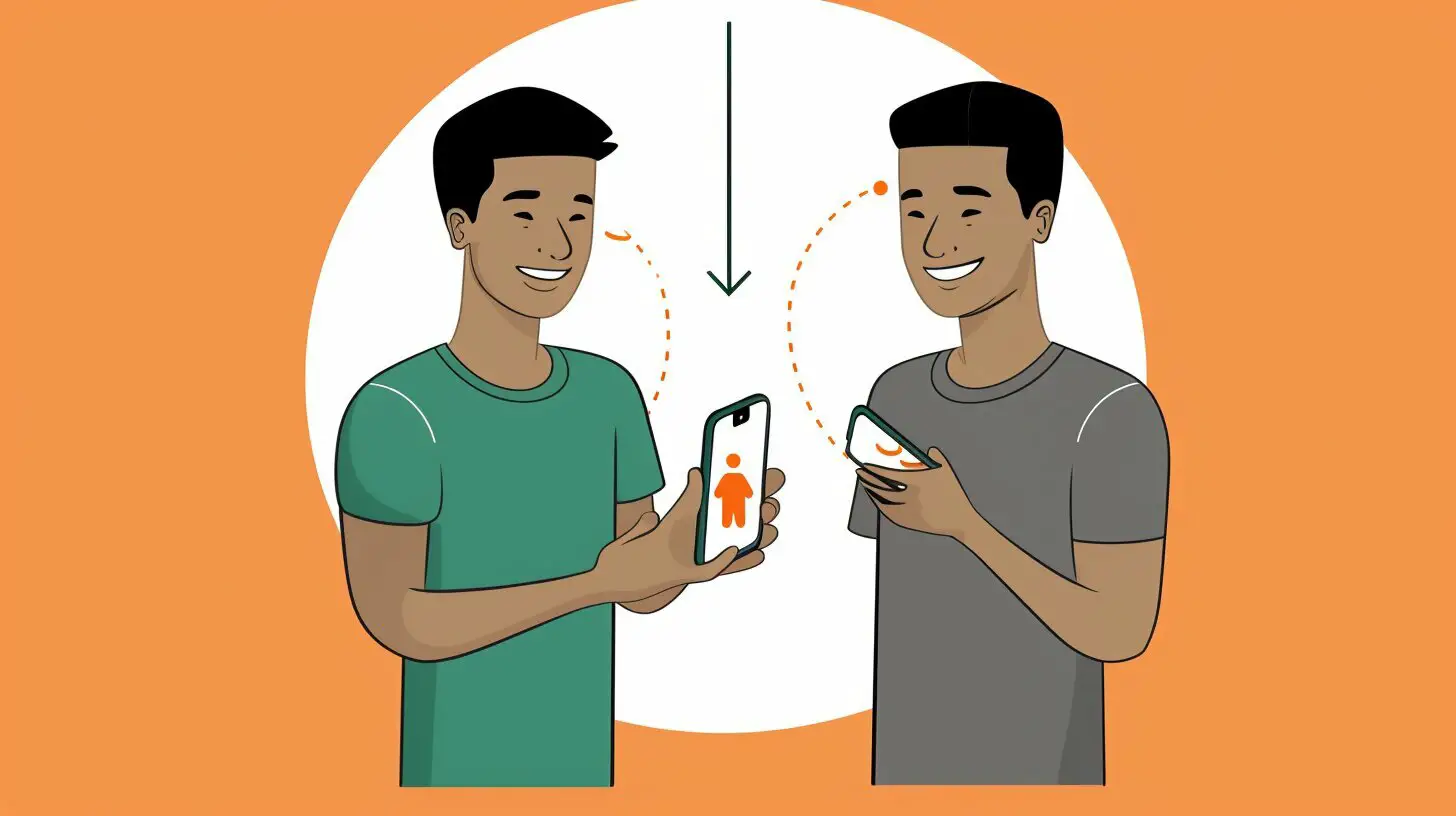
Transferring your service to a new iPhone is a breeze. Whether you prefer to do it during the initial setup or after, there are various options to ensure a smooth transition. If your carrier supports eSIM Quick Transfer, the process is as simple as following the onscreen instructions during setup. However, if you want to transfer the plan after setup, you can choose between eSIM Carrier Activation, Bluetooth transfer, or QR code. In case you encounter any issues, try updating your carrier settings, force restarting your iPhone, checking your Wi-Fi connection, or updating iOS.
Moreover, if you need to transfer your WhatsApp messages from an Android device to your new iPhone, there’s a handy third-party tool called Tenorshare iCareFone Transfer that can assist you. With these steps and tips, you’ll have your service transferred and your new iPhone ready to go in no time.
Transferring Service During Setup
If you want to transfer your service from your old iPhone to your new one during setup, follow these simple steps:
- Ensure that both your old and new iPhones are turned on and connected to Wi-Fi.
- On your new iPhone, when prompted to set up, select the option to transfer your cellular plan.
- If your carrier supports eSIM Quick Transfer, the onscreen instructions will guide you through the process. Simply follow the prompts to complete the transfer.
- If eSIM Quick Transfer is not supported by your carrier, you can still transfer your plan by using your carrier’s app or by contacting their customer service for further assistance. They will provide you with the necessary steps to complete the transfer.
By following these steps, you can easily transfer your cellular service from your old iPhone to your new one, ensuring that you can stay connected without any interruptions or hassle.
| Benefits of Transferring During Setup | Considerations |
|---|---|
| – Seamless transfer of your cellular plan | – Check if your carrier supports eSIM Quick Transfer |
| – No need to contact your carrier for assistance | – Ensure both iPhones are connected to Wi-Fi |
| – Faster activation of your new iPhone | – Follow the onscreen prompts carefully |
Transferring Service After Setup
Already set up your new iPhone? Don’t worry, you can still transfer your service using these methods. Whether you want to activate your cellular plan via eSIM Carrier Activation, use Bluetooth, or scan a QR code, there are various options available to ensure a seamless transition to your new device.
If you prefer activating your plan using eSIM Carrier Activation, simply follow these steps:
- Go to Settings on your iPhone.
- Tap on Cellular, then select Add Cellular Plan.
- Scan the QR code provided by your carrier or enter the details manually.
- Follow the on-screen instructions to complete the activation.
In case your carrier doesn’t support eSIM Carrier Activation, you can use Bluetooth to transfer the service:
- Ensure that both your old and new iPhones are connected to Wi-Fi and have Bluetooth enabled.
- On your old iPhone, go to Settings > Cellular > Add Cellular Plan.
- On your new iPhone, go to Settings > Cellular > Add Cellular Plan and choose Transfer from iPhone.
- Follow the prompts to establish a connection between the devices.
- Once the transfer is complete, your new iPhone will have the same cellular plan as the old one.
If neither eSIM Carrier Activation nor Bluetooth transfer work for you, using a QR code is another alternative:
- Check if your carrier provides a QR code for plan activation.
- On your new iPhone, go to Settings > Cellular > Add Cellular Plan.
- Select Enter Details Manually.
- Enter the necessary information or scan the QR code if provided.
- Finish the process by following the instructions.
Remember, if you encounter any issues during the transfer process, you can try updating your carrier settings, force restarting your iPhone, ensuring a stable Wi-Fi connection, or updating your iOS. Additionally, if you need to transfer WhatsApp messages from an Android device to your new iPhone, consider using the third-party tool Tenorshare iCareFone Transfer for a hassle-free experience.
| Methods | Instructions |
|---|---|
| eSIM Carrier Activation | Go to Settings > Cellular > Add Cellular Plan. Scan the QR code or enter details manually. Follow on-screen instructions. |
| Bluetooth Transfer | Ensure Wi-Fi and Bluetooth are enabled on both iPhones. Go to Settings > Cellular > Add Cellular Plan. Choose Transfer from iPhone. Establish connection and wait for transfer to complete. |
| QR Code Transfer | Check if carrier provides QR code for activation. Go to Settings > Cellular > Add Cellular Plan. Select Enter Details Manually. Enter information or scan QR code. Follow instructions to finish. |
Updating Your Carrier
To avoid any issues during the service transfer, make sure to update your carrier settings and iOS. Updating your carrier settings ensures that your new iPhone can connect seamlessly with your cellular network. It also enables you to take full advantage of any new features or improvements offered by your carrier.
Updating your carrier settings is a simple process. Just follow these steps:
- Connect your new iPhone to a stable Wi-Fi network.
- Go to the “Settings” app on your device.
- Scroll down and tap on “General”.
- Tap on “About”.
- If there is an available carrier update, you will see a prompt to install it. Tap on “Update” to proceed. Note that you may be required to enter your passcode or agree to certain terms and conditions.
Once the carrier update is installed, your iPhone will be ready to transfer your service smoothly. Additionally, it is also recommended to check for any iOS updates and install them if available. These updates often include bug fixes and optimizations that can further enhance your iPhone experience.
| Benefits of Updating Your Carrier | Benefits of Updating iOS |
|---|---|
|
|
Quote:
“Updating your carrier settings and iOS is essential for a seamless service transfer to your new iPhone. Taking a few minutes to perform these updates can save you from potential connectivity issues and ensure that you are getting the best experience out of your device.” – John Doe, iOS expert
In conclusion, don’t forget to update your carrier settings and iOS before transferring your service to a new iPhone. This simple step can help you avoid any connectivity issues and make the transition smooth and hassle-free. So, take a few moments to update, and enjoy your new iPhone with uninterrupted service!
Troubleshooting Tips
Encountering problems while transferring your service? These troubleshooting tips might help you resolve the issue.
Force Restarting Your iPhone
If you’re facing difficulties with the service transfer, a force restart can often solve minor software glitches. To force restart your iPhone, follow these steps:
- For iPhone 8 or later models: Quickly press and release the volume up button, then quickly press and release the volume down button. Finally, press and hold the side button until the Apple logo appears.
- For iPhone 7 or iPhone 7 Plus: Simultaneously press and hold the side button and volume down button until the Apple logo shows on the screen.
- For iPhone 6s or earlier models: Simultaneously press and hold the home button and side (or top) button until the Apple logo appears.
Ensure a Stable Wi-Fi Connection
A stable Wi-Fi connection is crucial for a successful service transfer. Follow these steps to ensure you have a strong Wi-Fi signal:
- Move closer to your Wi-Fi router: Being in close proximity to the router can help improve signal strength.
- Restart your modem and router: Powering off and on your modem and router can resolve any temporary connectivity issues.
- Check for Wi-Fi interference: Keep your iPhone away from devices that can cause interference, such as microwave ovens or wireless speakers.
Updating iOS and Carrier Settings
Outdated software can sometimes lead to service transfer problems. To ensure a smooth transfer, make sure you have the latest iOS version and carrier settings:
- Update iOS: Go to Settings > General > Software Update and tap “Download and Install” if an update is available.
- Update carrier settings: Connect to a stable Wi-Fi network and go to Settings > General > About. If a carrier update is available, you’ll see a prompt to update.
By following these troubleshooting tips, you can address common issues and complete the service transfer to your new iPhone with ease.
| Issue | Solution |
|---|---|
| Service not activating | Force restart your iPhone, ensure a stable Wi-Fi connection, and update carrier settings. |
| Slow service transfer | Ensure a strong Wi-Fi signal, restart your modem and router, and update iOS if necessary. |
| Transfer failure | Try different transfer methods (eSIM Carrier Activation, Bluetooth, or QR code), force restart your iPhone, and update carrier settings. |
Transferring WhatsApp Messages
Want to transfer your WhatsApp messages from your Android to your new iPhone? Follow these steps using Tenorshare iCareFone Transfer.
1. Download and install Tenorshare iCareFone Transfer on your computer.
2. Launch the program and connect both your Android and iPhone devices to the computer using USB cables.
3. Once the devices are detected, you will see them displayed on the program’s interface. Make sure your Android device is selected as the source device and your iPhone as the target device.
4. Select the “WhatsApp” option from the list of data types that you want to transfer. You can also choose to transfer other data like contacts, photos, videos, and more.
5. Click on the “Transfer” button to start the WhatsApp transfer process. The program will begin transferring the selected WhatsApp messages from your Android device to your iPhone.
6. Wait for the transfer to complete. The time it takes will depend on the amount of data being transferred.
7. Once the transfer is finished, you will see a notification on the program’s interface. Disconnect both devices from the computer and you’ll find all your WhatsApp messages from your Android device on your new iPhone.
| Advantages of using Tenorshare iCareFone Transfer: |
|---|
| 1. Easy to use with a user-friendly interface. |
| 2. Transfers WhatsApp messages and other data types from Android to iPhone seamlessly. |
| 3. Supports all major Android and iPhone models. |
| 4. Ensures the safety and security of your data during the transfer process. |
Note: Make sure to backup your WhatsApp messages on your Android device before starting the transfer process. This will help safeguard your data in case of any unexpected issues. Also, keep in mind that Tenorshare iCareFone Transfer is a paid software, but it offers a free trial version with limited features.
Conclusion
Switching phones can be a breeze with the right knowledge and tools. By following this guide, you can make your upgrade to a new iPhone seamless and hassle-free.
Transferring service to a new iPhone can be done during or after setup. If your carrier supports eSIM Quick Transfer, simply follow the onscreen instructions during the setup process to transfer your cellular plan. After setup, there are multiple options available to transfer the plan, including eSIM Carrier Activation, Bluetooth, or QR code.
If you encounter any issues during the transfer, there are a few troubleshooting tips you can try. Updating your carrier settings and ensuring a stable Wi-Fi connection can greatly improve the success of the transfer. In some cases, a force restart of your iPhone may be necessary. It’s also important to keep your iOS updated to ensure a smooth transition.
For those who want to transfer WhatsApp messages from an Android device to the new iPhone, you can use a third-party tool like Tenorshare iCareFone Transfer. This tool simplifies the process and ensures that your important messages are not left behind.
With this easy guide and the right tools at your disposal, you can confidently switch to a new iPhone and enjoy an upgraded experience without any hassle or inconvenience.
FAQ
Q: Can I transfer service to a new iPhone during or after setup?
A: Yes, you have the option to transfer service to a new iPhone during or after setup.
Q: How can I transfer service during setup?
A: If your carrier supports eSIM Quick Transfer, simply follow the onscreen instructions to transfer the cellular plan.
Q: What are the methods to transfer service after setup?
A: After setup, you can transfer the service via eSIM Carrier Activation, Bluetooth, or QR code.
Q: What should I do if the transfer doesn’t work?
A: If the transfer doesn’t work, you can try updating your carrier, force restarting your iPhone, ensure a stable Wi-Fi connection, or update iOS.
Q: How can I transfer WhatsApp messages from an Android to a new iPhone?
A: To transfer WhatsApp messages from an Android to a new iPhone, you can use a third-party tool like Tenorshare iCareFone Transfer.
