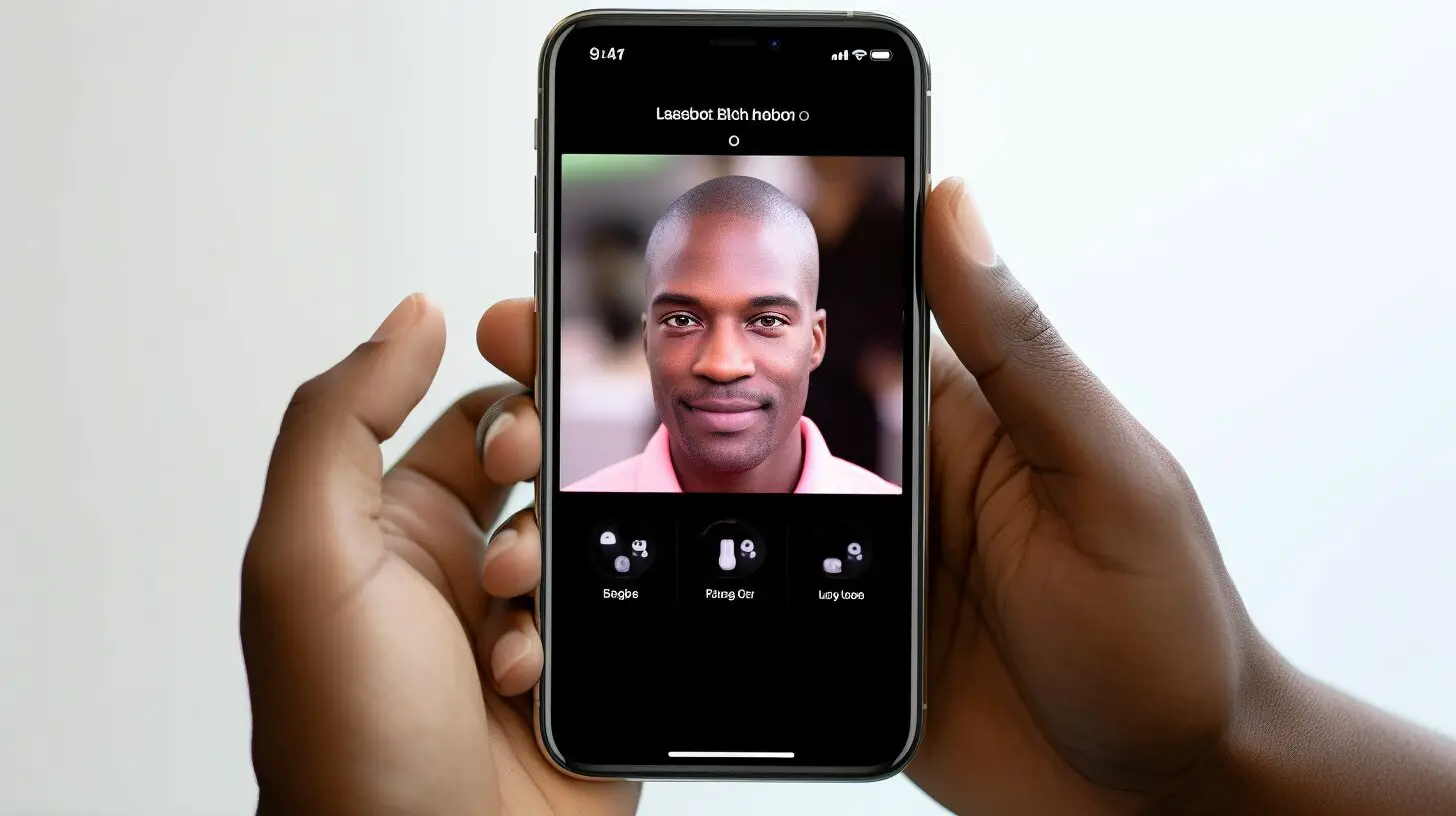
Adding another Face ID to your iPhone is a simple process that can be done in just a few minutes. This feature allows you to easily manage multiple identities on your device, whether it’s for yourself or someone else you trust.
Key Takeaways:
- Set up an alternate appearance on your iPhone by going to Settings > Face ID & Passcode > Set Up an Alternate Appearance.
- Adding another person’s face to Face ID can be useful for couples or parents who share their iPhone with someone else they trust.
- Remember that granting access to another person’s face on Face ID gives them the same rights and permissions as the owner of the device.
- Remove an added face by going to Settings > Face ID & Passcode > Reset Face ID.
- Follow best practices and implement security measures to ensure the safety of your device.
How to Set Up an Alternate Appearance on iPhone
To get started, go to your iPhone’s Settings and navigate to the Face ID & Passcode menu. This is where you can manage all the settings related to your device’s facial recognition feature.
Once you’re in the Face ID & Passcode menu, select the option to set up an alternate appearance. This will allow you to add another person’s face to Face ID and grant them access to unlock and authenticate your iPhone.
Follow the onscreen instructions to complete the setup process. Your iPhone will ask you to position your face within the frame and move it around for the best recognition. Make sure to follow the prompts and adjust your position as needed.
It’s important to note that when adding another face to Face ID, you are granting that person the same access and permissions as the primary user. Therefore, it’s crucial to only add someone you trust. If you ever need to remove the added face, simply go back to the Face ID & Passcode menu and reset Face ID.
Adding Another Face ID on iPhone X
If you’re using an iPhone X or later model, the process is slightly different. Instead of going to the Face ID & Passcode menu, you’ll find the option to add another face under the “Face ID & Attention” setting in your iPhone’s Settings.
Tap on “Set Up an Alternate Appearance” and follow the instructions to add the additional face to Face ID. Remember to position your face within the frame and move it around for optimal recognition.
With this alternate appearance set up, you can easily switch between faces when unlocking your iPhone or accessing secure apps that utilize Face ID authentication.
| Benefits of Setting Up an Alternate Appearance | Considerations |
|---|---|
|
|
“Adding another person’s face to Face ID allows for seamless unlocking and authentication on your iPhone. It’s a practical feature for sharing your device, but it’s crucial to only add someone you trust.”
Adding Another Face ID to iPhone: Best Practices and Security Measures
While adding another Face ID to your iPhone can be convenient, it’s important to take certain precautions to maintain the security of your device. Granting access to another person’s face means they will have the same rights and permissions as the owner, so it’s crucial to ensure you’re adding someone you trust.
Firstly, when setting up an alternate appearance on your iPhone, make sure to do it in a secure and private environment. Avoid adding faces in public areas or when there are unknown individuals nearby. This will minimize the risk of unauthorized access to your device.
Additionally, it’s recommended to regularly review the list of added faces on your iPhone. Go to Settings > Face ID & Passcode and check the “Faces” section. If you notice any unfamiliar faces or suspect that someone’s face has been added without your permission, promptly remove it from the list.
Another security measure you can take is to enable the “Require Attention for Face ID” option. This ensures that Face ID will only unlock your iPhone when it detects that your eyes are open and looking directly at the screen. This feature adds an extra layer of security and prevents unauthorized access if someone tries to use a picture or a replica of your face.
Recommended Best Practices for Adding Another Face ID
Here are some best practices to follow when adding another Face ID to your iPhone:
- Only add faces of individuals you trust and who have your permission to use your device.
- Set up an alternate appearance in a secure and private environment.
- Regularly review the list of added faces and remove any unfamiliar or unauthorized ones.
- Enable the “Require Attention for Face ID” option to enhance security.
| Pros | Cons |
|---|---|
| Convenient for sharing your device with trusted individuals. | Potential risk if an unauthorized person gains access to your device. |
| Allows for easy unlocking and authentication. | Must ensure the trustworthiness of the added faces. |
| Can be useful for couples or parents who share their iPhone. | Requires careful management of added faces for security purposes. |
“Adding another person’s face to Face ID is a handy feature that allows for seamless access to your device. However, it must be done with caution and only with individuals you trust.”
By following these best practices and implementing the recommended security measures, you can confidently add another Face ID to your iPhone while keeping your device secure.
Managing Multiple Face IDs on iPhone: Tips and Tricks
Once you have added another Face ID to your iPhone, you’ll want to efficiently manage and utilize the different identities. With these tips and tricks, you can make the most out of this feature and ensure a seamless experience.
Organize and Label
One way to manage multiple Face IDs is by organizing and labeling them accordingly. You can assign names or labels to each identity, making it easier to distinguish between them. To do this, go to Settings > Face ID & Passcode > Labels and enter the desired names. This way, you can select the appropriate Face ID when unlocking or authenticating your device.
Enable Face ID for Specific Apps
If you want certain apps to only be accessible by specific Face IDs, you can customize the app settings accordingly. Go to Settings > Face ID & Passcode > App Lock and select the desired apps. This ensures that only the designated Face IDs can access those apps, adding an extra layer of security and privacy.
Troubleshooting Common Issues
If you encounter any issues with your Face ID, there are a few troubleshooting steps you can try. First, ensure that your face is properly positioned within the camera frame when setting up or using Face ID. Additionally, make sure there is adequate lighting and that your face is not obscured by accessories or facial hair. If problems persist, you can reset Face ID by going to Settings > Face ID & Passcode > Reset Face ID and setting it up again.
| Tip | Benefit |
|---|---|
| Create unique appearances | Allows for easier recognition in different lighting conditions or with accessories |
| Regularly update Face ID | Improves recognition accuracy over time by adapting to changes in your appearance |
| Use an alphanumeric passcode as a backup | Provides an additional level of security in case Face ID fails or is not available |
By following these tips and utilizing the various features of managing multiple Face IDs on your iPhone, you can enhance security, convenience, and personalization. Enjoy the seamless experience of easily switching between different identities with Face ID.
Removing an Added Face ID from iPhone
If you want to remove an added face from Face ID on your iPhone, follow these steps to reset it:
- Open the Settings app on your iPhone.
- Scroll down and tap on Face ID & Passcode.
- Enter your passcode when prompted.
- Tap on Reset Face ID.
- Confirm your action by tapping on Reset Face ID again.
By resetting Face ID, you will remove all the added faces from the feature. This means that the removed person will no longer be able to unlock or authenticate your device using their face. It’s an important security measure to ensure that only authorized individuals have access to your iPhone.
Remember, before removing an added face from Face ID, make sure that you no longer need it. Once the reset is complete, you will need to set up Face ID again, including your own face and any other faces you want to add, following the steps outlined in the previous sections.
Now that you know how to remove an added face from Face ID, you can confidently manage and control the identities that have access to your iPhone. This feature provides convenience and security, allowing you to customize your device’s authentication process to suit your needs.
| Step | Action |
|---|---|
| 1 | Open the Settings app on your iPhone. |
| 2 | Scroll down and tap on Face ID & Passcode. |
| 3 | Enter your passcode when prompted. |
| 4 | Tap on Reset Face ID. |
| 5 | Confirm your action by tapping on Reset Face ID again. |
Conclusion
Adding another Face ID to your iPhone is a convenient feature that enhances the usability and personalization of your device. By following the steps outlined in this guide, you can easily set up an alternate appearance and manage multiple identities on your iPhone. This is particularly useful for couples or parents who share their device with another person.
However, it’s important to consider the security implications of adding another person to Face ID. Granting someone access to your device also means granting them access to all the same rights and permissions as the device owner. Therefore, it’s crucial to only add someone you trust to ensure the safety and privacy of your data.
If you no longer need an added face on Face ID, you can easily remove it by going to Settings, selecting Face ID & Passcode, and then choosing Reset Face ID.
By following these steps and implementing the security measures discussed, you can enjoy a seamless and secure experience with multiple Face IDs on your iPhone.
FAQ
Q: How do I add another face to Face ID on my iPhone?
A: To add another face to Face ID, go to Settings, then select Face ID & Passcode. Choose “Set Up an Alternate Appearance” and follow the onscreen instructions to scan the new face. This will enable the additional person to unlock and authenticate the iPhone using their face.
Q: Can I add multiple faces to Face ID?
A: Yes, you can add multiple faces to Face ID on your iPhone. This feature is ideal for couples or parents who share their device with another person. By following the same steps mentioned above, you can add as many faces as you need.
Q: Is it safe to add another person’s face to Face ID?
A: Adding another person’s face to Face ID grants them access to all the same rights and permissions as the owner of the device. Therefore, it is important to only add someone you trust. Additionally, make sure to follow security measures such as enabling a strong passcode and regularly updating your device.
Q: How do I remove an added face from Face ID?
A: If you want to remove an added face from Face ID, go to Settings, then select Face ID & Passcode. Choose “Reset Face ID” and confirm your action. This will remove all added faces from Face ID, and you will need to set it up again if desired.
Q: Can I have different Face IDs for different apps on my iPhone?
A: No, Face ID is tied to the overall security of your iPhone and cannot be set up on a per-app basis. When you add a face to Face ID, it will be used for unlocking the device and authenticating various apps that support Face ID for authentication.
Q: What should I do if Face ID is not recognizing an added face?
A: If Face ID is not recognizing an added face, make sure that the person’s face is fully visible to the front camera and that no obstructions are blocking the view. Additionally, try adding the face again by following the setup process mentioned earlier. If the issue persists, you can contact Apple Support for further assistance.
